
 Pin it
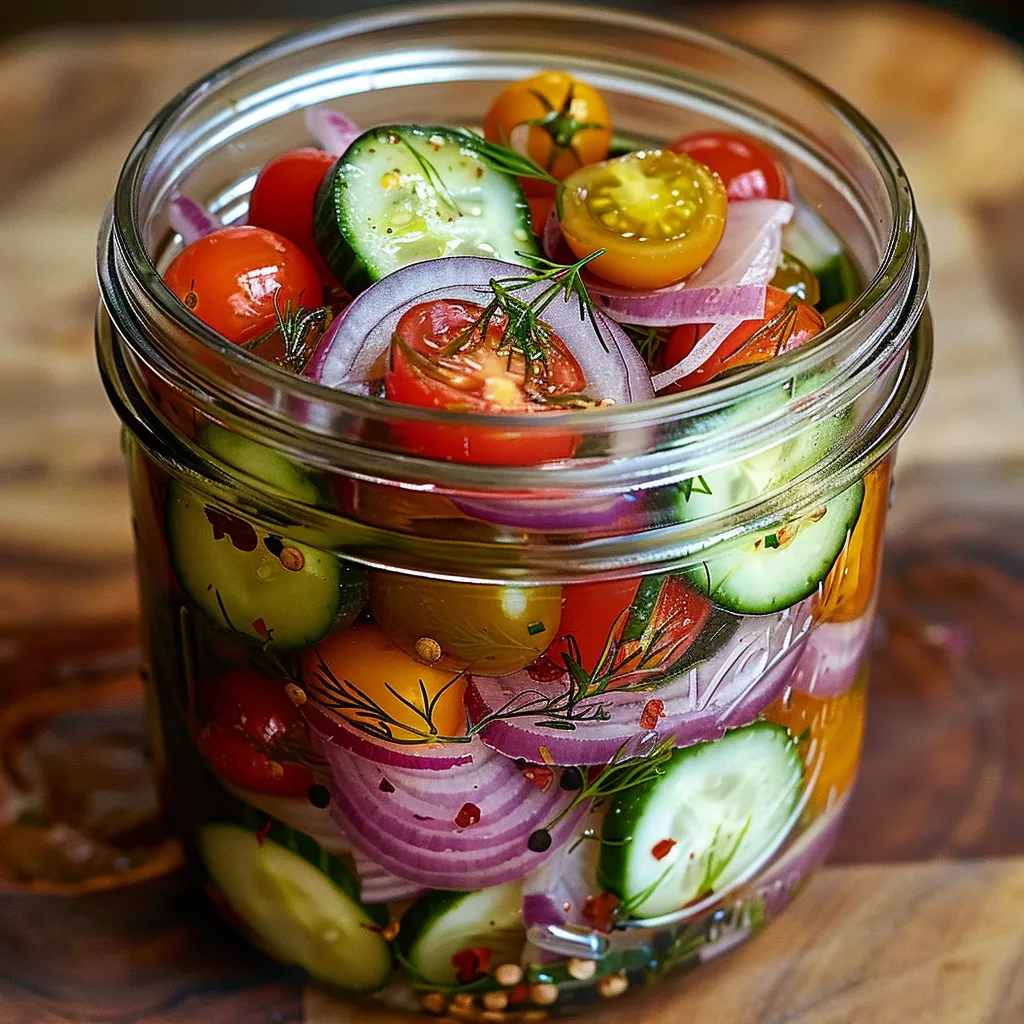
Juicy cherry tomatoes, crunchy cucumbers, and tangy red onions come together in a bright, lively pickle that adds zing to any meal. This speedy pickle locks in summer's best produce with a tangy soak, hitting the sweet spot between sour, sweet, and herby notes. Every container offers a spectrum of textures and tastes, from the pop of small tomatoes to the snap of cucumbers and the bold kick of red onions.
These pickles became my go-to party trick last summer. Whenever I cracked open a jar, their tangy herb smell would pull everyone toward the food table, and folks couldn't stop asking me how I made them.
Key Components and Selection Advice
- Cherry Tomatoes: Go for plump, ripe ones without soft spots. After trying loads of kinds, I've found that mixing different colors makes your jars look amazing
- English Cucumbers: Their minimal seeds and thin peel make them perfect picklers. I've tried many types and learned that regular cucumbers often turn too mushy
- Red Onions: Look for solid, weighty ones with tight skins. I always grab the smaller ones since they're usually sweeter and less intense
- Fresh Dill: Pick bunches with vibrant green, feathery tops with no yellow parts. The bottom stems should feel firm and smell strong
 Pin it
Your vinegar choice really matters. Just last month, I tried a fancy white vinegar, and wow - the flavor was so much cleaner.
Step-by-Step Cooking Guide
- Brine Mixing:
- Start by putting vinegar, water, sugar, and salt in a pot. Heat until it bubbles, stirring so the sugar fully melts. Throw in dried oregano and red pepper flakes if you want them. This hot mix will gently soften your veggies while keeping their crunch.
- Veggie Prep:
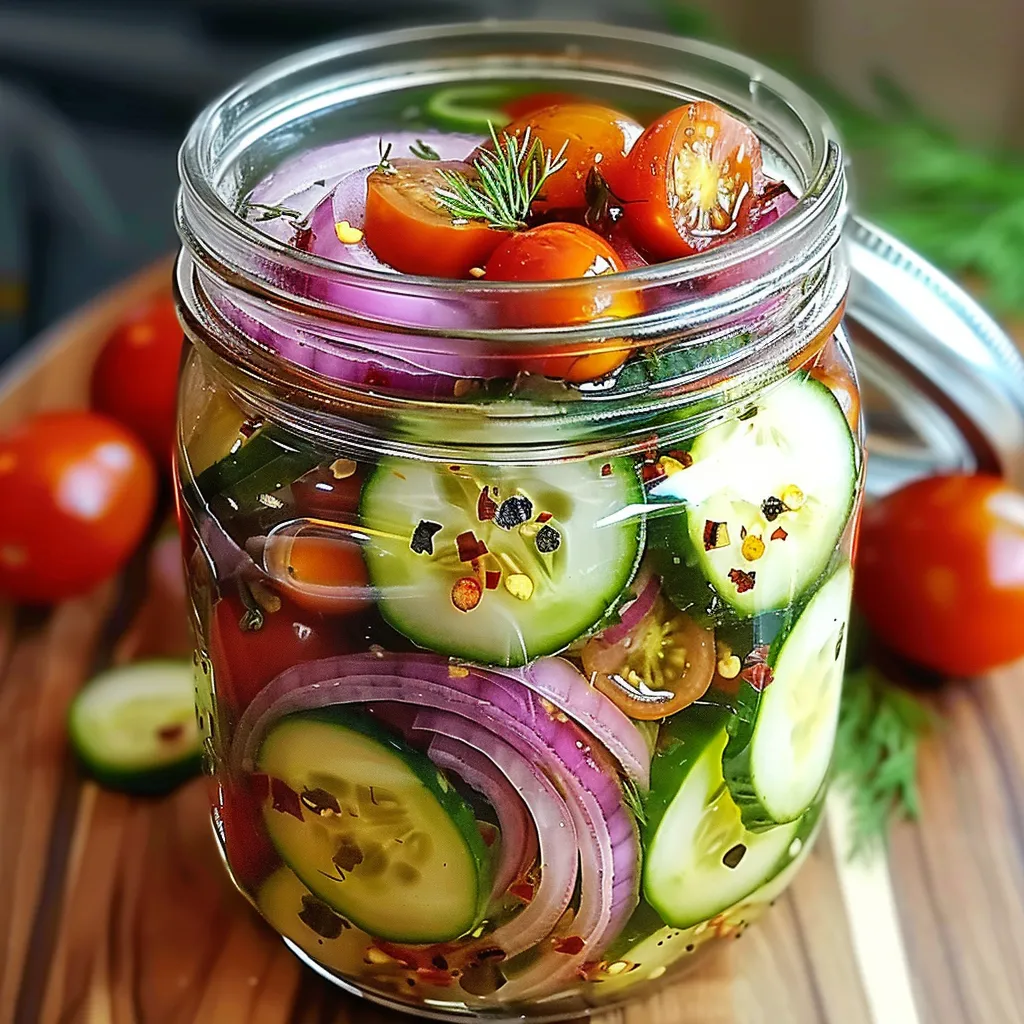
- While your brine heats up, get your veggies ready. Cut onions super thin with a sharp knife or slicer - even thickness means they'll pickle evenly. Cut cherry tomatoes in half if they're big. For cucumbers, make thin, even slices about 1/8-inch thick.
- Filling Jars:
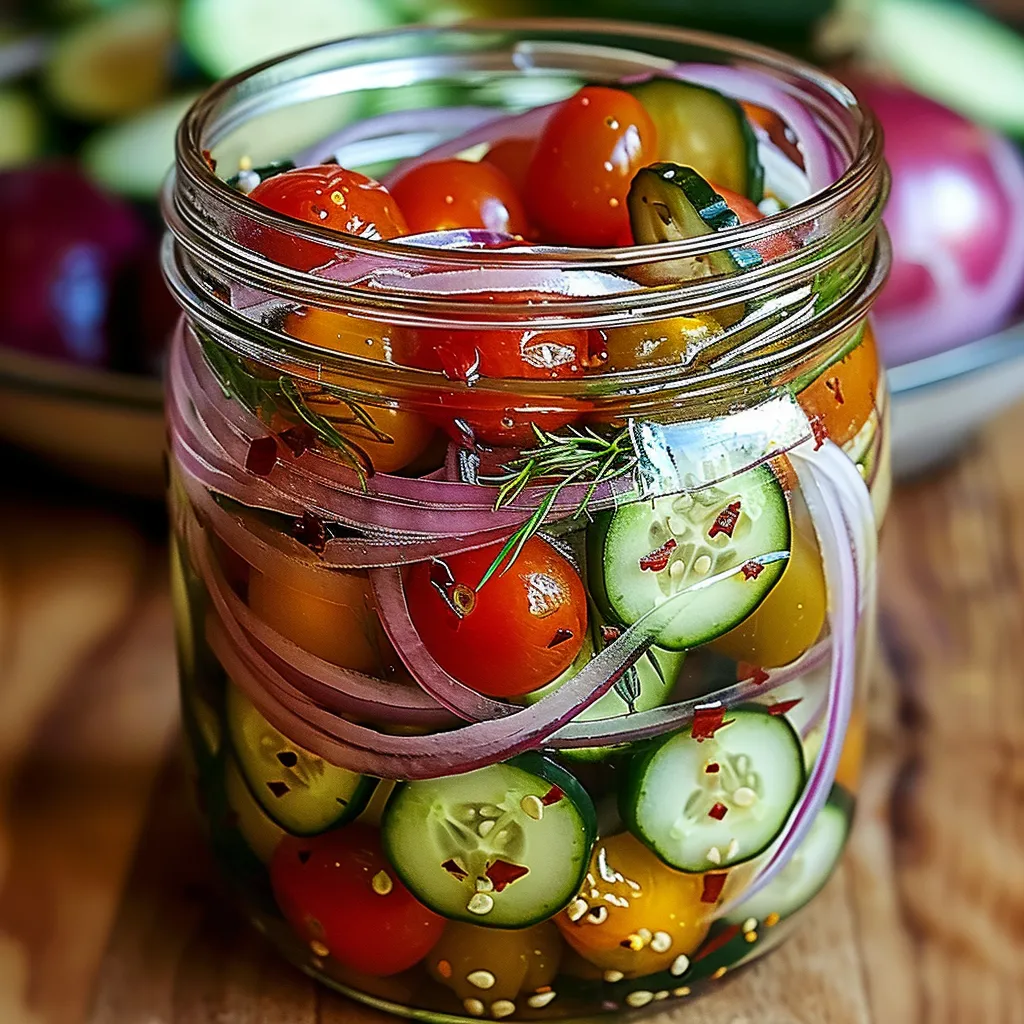
- Stack your veggies in clean containers, mixing them up for a pretty look. Pack them in well but don't smash them. Leave about 1/2 inch empty at the top. Stick fresh dill between the layers rather than dumping it all in one spot.
- Adding Brine:
- Pour the hot brine over everything while it's still really hot. Use a stick or knife to push out any air bubbles. Make sure all veggies are covered by liquid - this is super important for good pickling.
My restaurant days taught me that if you don't fill jars completely full, your veggies won't float up above the brine.
Managing Heat
Let your pickles cool down on their own before refrigerating. This slow cooling helps keep their texture while making sure they stay food-safe.
Keeping It Fresh
These pickles stay good for about two weeks in the fridge. They taste best after sitting for 24 hours but keep developing flavor.
Flexible Serving Ideas
Add these pickles to sandwiches, tacos, or grain bowls. They're awesome on meat and cheese platters or as a tangy side.
Smart Uses
Don't toss the leftover liquid - use it to perk up salad dressings or marinades. A little splash can totally transform ordinary dressings.
Looking Back: These quick pickles show everything I love about food preservation - catching ingredients when they're perfect and turning them into something totally different and exciting. After making countless batches, I've found that success comes from understanding each veggie's unique traits while following the right steps. Whether they're at a backyard cookout or eaten straight from the jar at midnight, they bring a crisp brightness to any meal.
 Pin it
Frequently Asked Questions
- → How long do homemade pickles keep?
- You can store these pickles in the fridge for up to 2 weeks in a sealed container.
- → What if I don’t like spicy food?
- Totally fine! Skip the red pepper flakes or start with a tiny pinch to keep it mild.
- → Why are my tomatoes bursting?
- Bursting usually comes from brine that's too hot. Make sure to let it cool a bit before pouring it.
- → Can I pickle other veggies?
- Definitely! Try it with carrots, peppers, or even cauliflower. Just cut them to similar sizes.
- → Is all that sugar necessary?
- Not really. Reduce or skip the sugar if you’d like, but it helps soften the vinegar’s sharpness.