
 Pin it
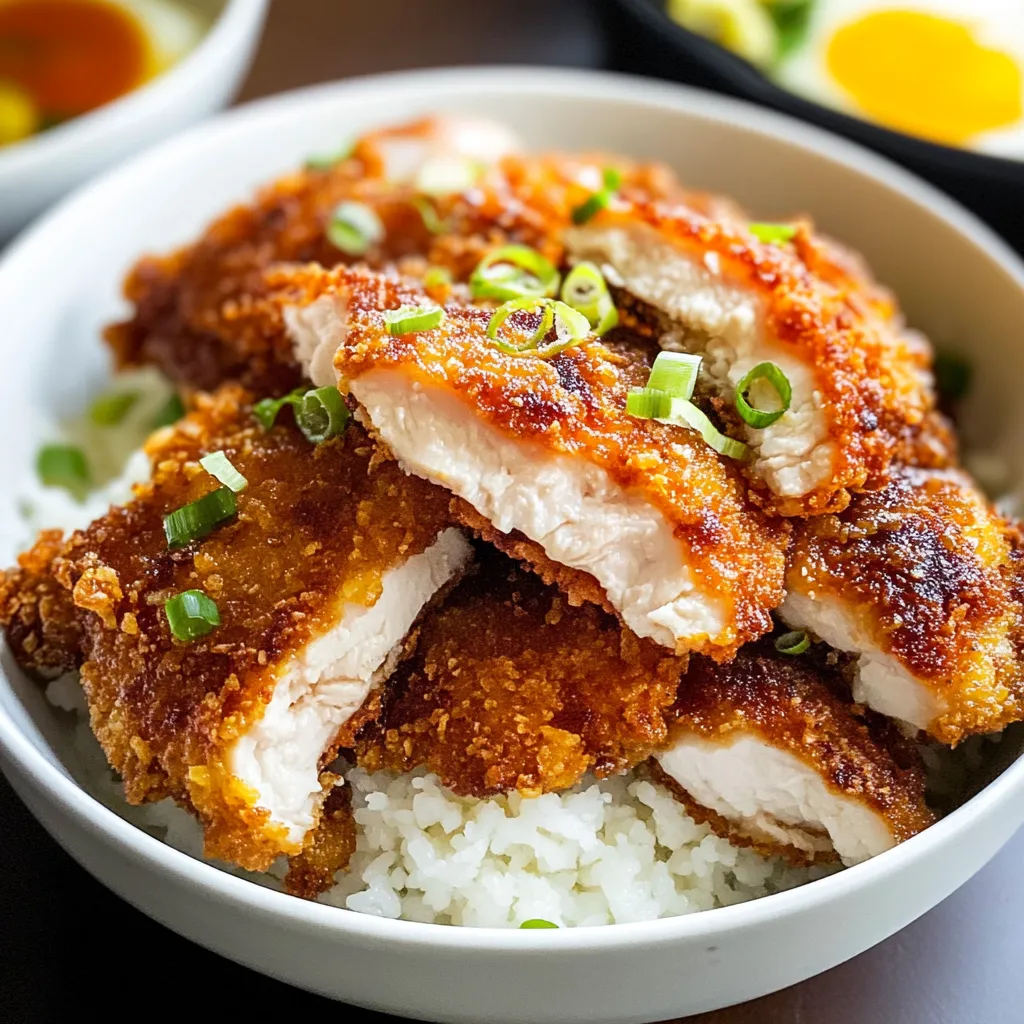
I'll walk you through making super crunchy Chicken Katsu with all the tricks for golden, crisp results. This Japanese-style fried chicken turns basic items into a mouthwatering meal.
After tons of cooking trials, I've found that adding seasoning to each component and letting the coated chicken sit before frying leads to that amazing crunch that won't go soggy.
Key Components
- Boneless skinless chicken thighs: Stays moist and tender
- Panko breadcrumbs: Gives that iconic crispiness
- All-purpose flour: Works as the first layer
- Large eggs: Makes everything stick together
- Seasonings (salt, pepper, garlic powder): Adds flavor throughout
- Vegetable oil: Great for hot frying temps
Step-By-Step Guide
- Getting The Chicken Ready
- Dry the chicken thighs completely, Trim any extra fat, Warm to room temp, Add salt and pepper directly
- Making Your Coating Station
- Get three flat dishes ready, Add spices to your flour in dish one, Beat eggs with milk in dish two, Mix seasonings with panko in dish three, Line them up for easy dipping
- Applying The Coatings
- Roll chicken in your spiced flour, Tap off any loose bits, Fully coat in egg mixture, Let extra egg drip away, Push firmly into your panko, Make sure all sides get covered
- Taking A Break
- Put coated pieces on a wire rack, Wait at least 10 minutes, Warm your oil to 350°F meanwhile, Keep a cooking thermometer handy
- The Frying Method
- Pour enough oil to cover half the chicken, Keep temp steady between 340-350°F, Cook 4-5 minutes each side until golden brown, Rest on a clean rack after, Add final seasoning while still hot
 Pin it
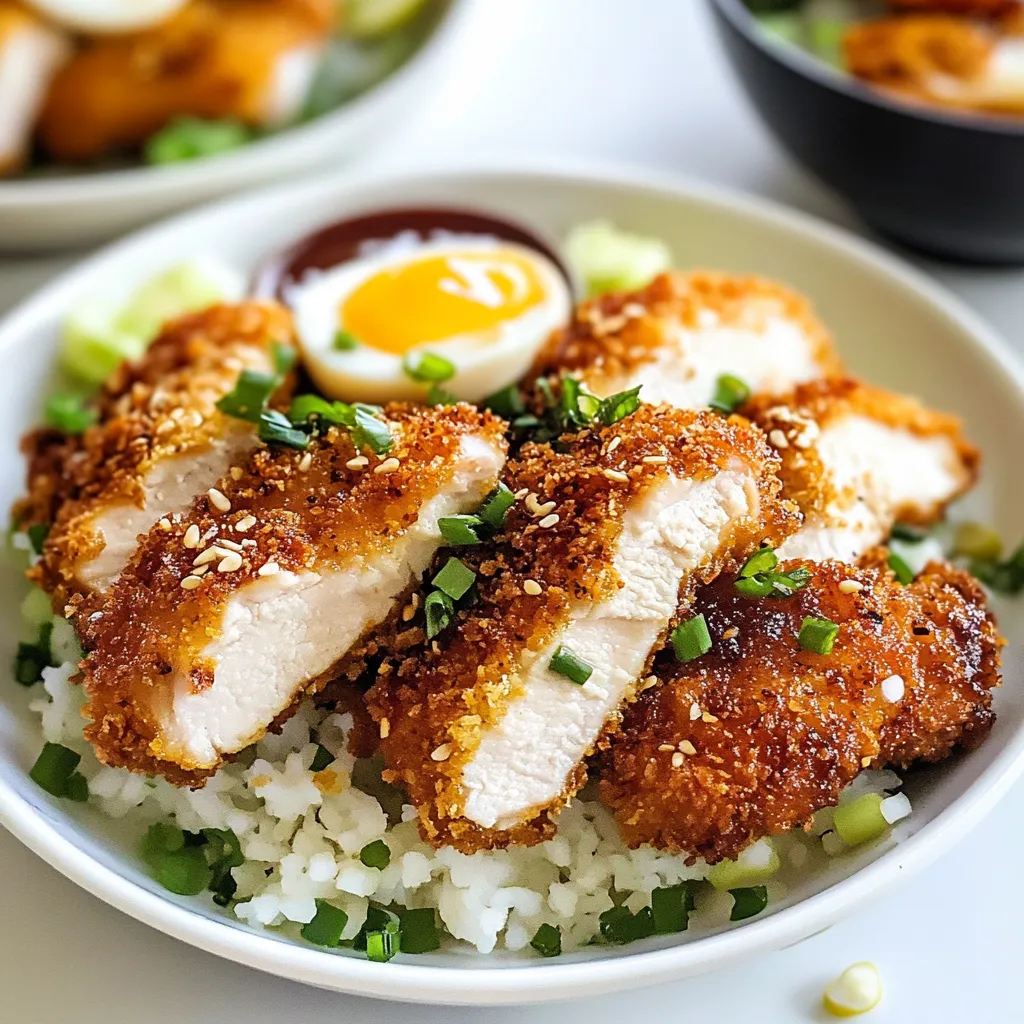
Ways To Enjoy
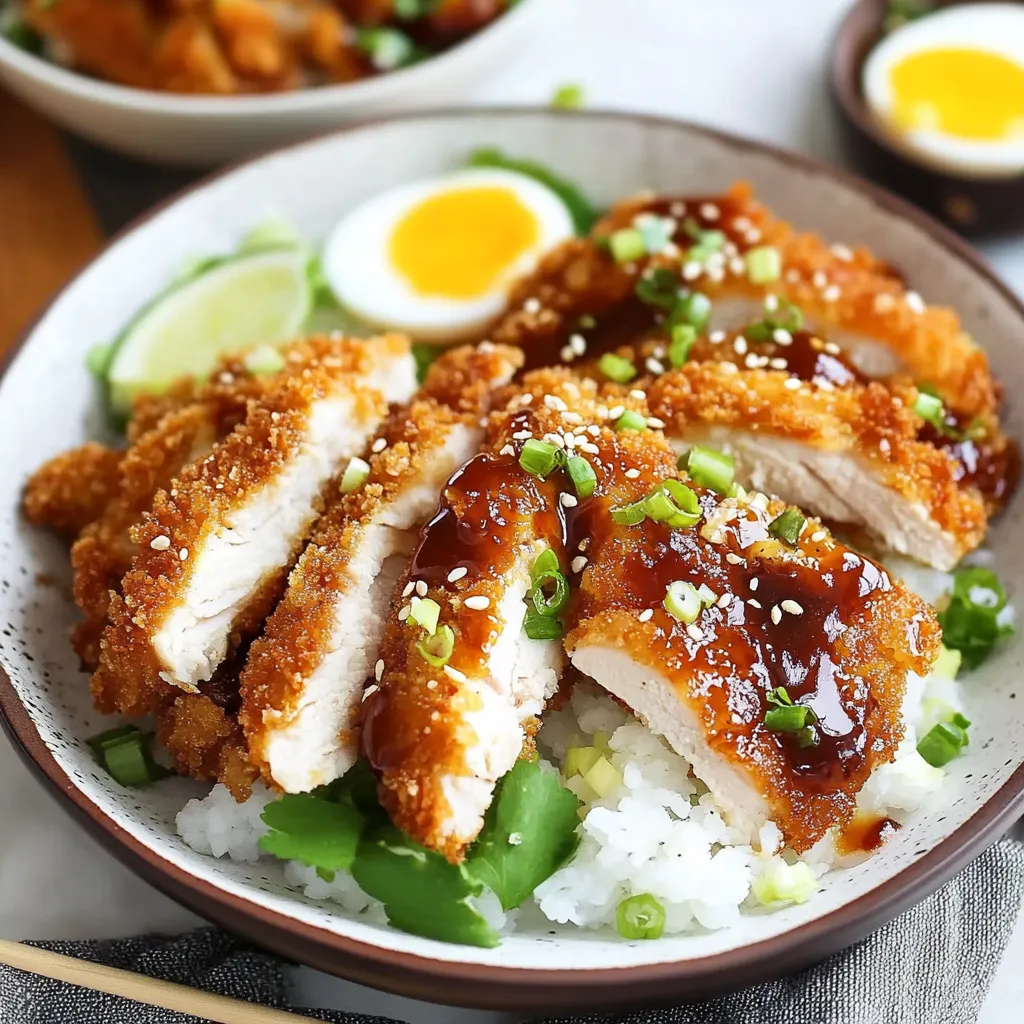
Place on top of warm rice, Pair with fresh cabbage slaw, Drizzle with Japanese curry, Great stuffed in sandwiches or mixed in bowls
Bottom line: This Chicken Katsu brings fancy restaurant vibes straight to your kitchen. Whether you go traditional with curry or modern with a grain bowl, it'll soon be requested again and again.
 Pin it
Frequently Asked Questions
- → What temperature should the oil be for cooking chicken katsu?
- Aim for 350°F (175°C). It’ll cook the chicken evenly while keeping the crust golden and crisp.
- → Can I swap chicken thighs with chicken breasts?
- Definitely! Just make sure to flatten the chicken breast a bit for even cooking.
- → Why is it important to let breaded chicken sit before frying?
- Letting it rest for 10 minutes keeps the coating securely on, so it doesn't fall apart in the pan.
- → How should I serve chicken katsu for the best meal?
- Slice it and pair with rice, add it to a sandwich, or serve next to veggies. It pairs well with a variety of sides!
- → Can you prep chicken katsu ahead of time?
- You can! Keep it warm in the oven on low for up to 30 minutes until you’re ready to eat.