
 Pin it
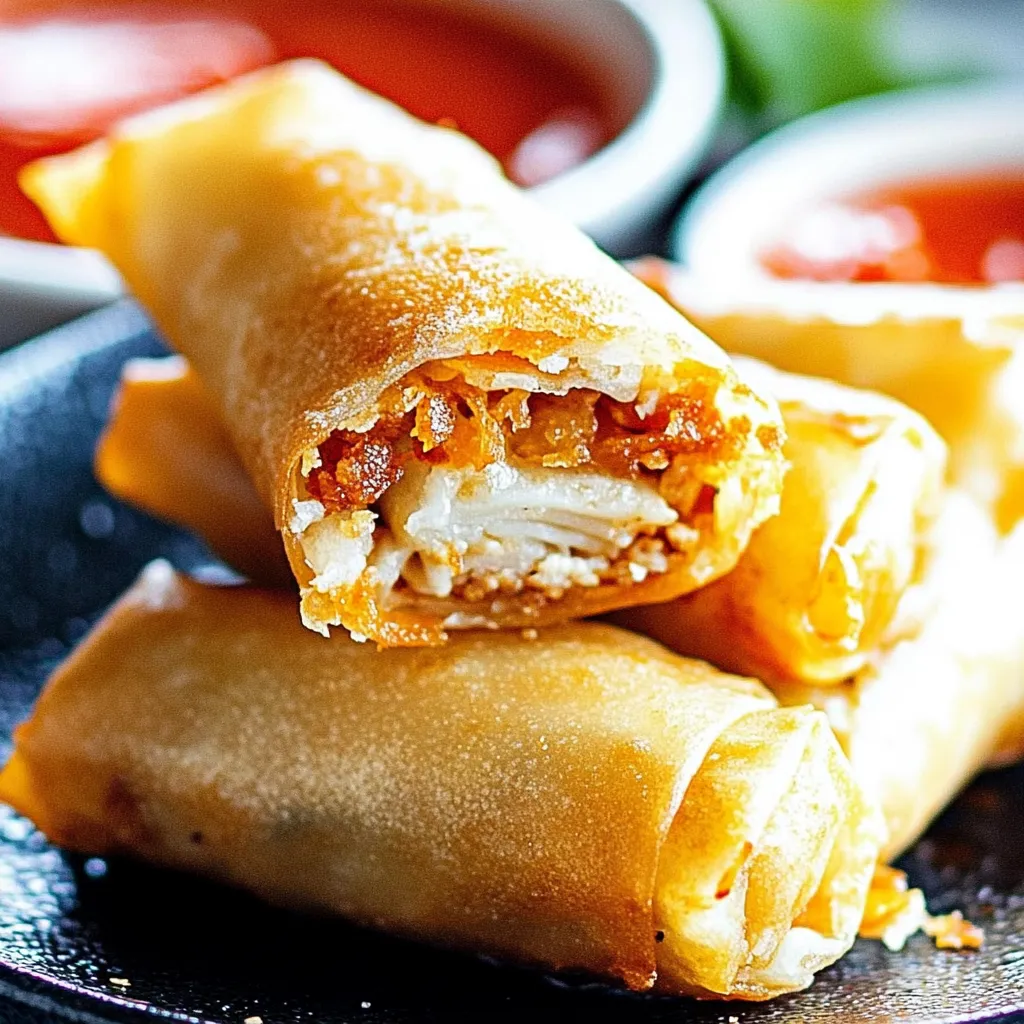
These crunchy spring rolls mix juicy chicken with fresh veggies inside a super crispy wrapper. Every bite starts with a loud crunch then gives way to a flavorful filling that makes store-bought versions look sad in comparison.
When I made these for my family reunion, they vanished in minutes and I had to whip up more right away. The smell of veggies and chicken cooking together was so amazing that everyone ended up hanging around the kitchen waiting for the next round.
Key Ingredients Breakdown
- Chicken: You can use fresh chicken breast or leftover rotisserie chicken, just make sure it's pulled apart well and still juicy. If you're cooking chicken fresh, leave it slightly pink as it'll finish cooking while frying.
- Cabbage: Look for white cabbage that feels heavy and has snug leaves. Make sure the middle part looks white and fresh, not brown.
- Wrappers: Go for wheat egg roll wrappers instead of rice paper ones. They should bend easily and look fresh without any dry spots.
- Vegetables: Your carrots and other veggies need to be firm and colorful. Cut everything the same size so they cook evenly.
- Oil: Pick a plain oil that won't burn easily, something like vegetable or peanut oil works great for frying.
Putting Your Rolls Together
- Getting The Filling Ready:
- First, pull your chicken into tiny, even bits. Mix it with thinly sliced cabbage and carrot sticks, making sure everything's mixed up well. Try to cut all your ingredients about the same size so they cook right.
- Working With Wrappers:
- Put each wrapper down so it looks like a diamond on your counter. Keep the unused wrappers under a slightly wet towel so they don't dry out. The wrapper should feel soft but not wet.
- How To Roll Them:
- Put about two tablespoons of filling just below the middle. Fold the bottom corner over the filling, then pull back a bit to make it snug. Fold in both side corners tight, like you're making an envelope.
- Finishing Touch:
- Roll upward while keeping everything tight inside. Wet the last corner with a bit of water to stick it down, making sure nothing can leak out during frying.
 Pin it
My grandma always told me the real trick to amazing spring rolls is how tight you roll them - too loose and they'll get soggy, too tight and they'll burst while cooking.
Cooking Time Secrets
Keep an eye on your oil temp - 350°F works best. Cook in small groups, about 3-4 minutes on each side until they turn a nice golden color.
Impressive Presentation
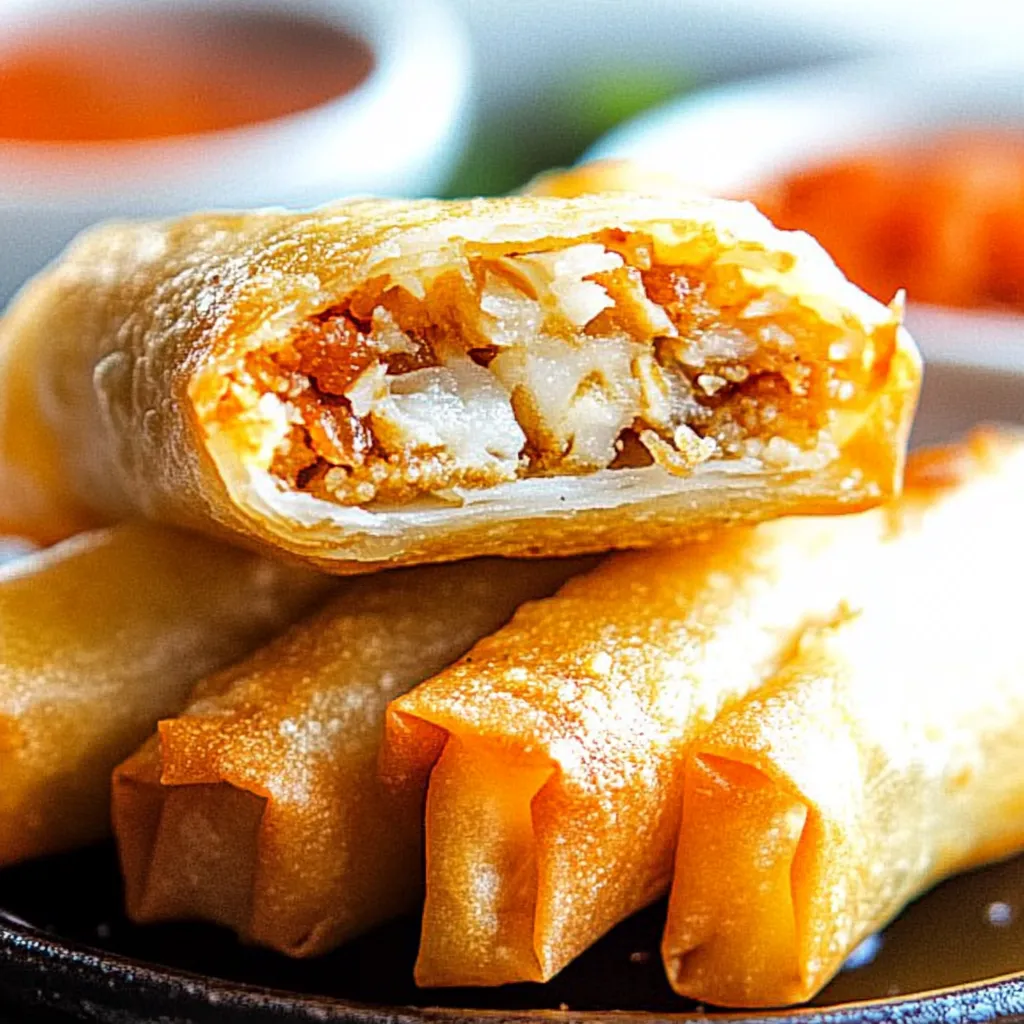
Serve them hot while they're still crunchy, laid out nicely on a plate with different dipping sauces. Slice them diagonally if you're serving them as appetizers.
Custom Variations
Try different veggies or spices in your filling mix. Adding some water chestnuts gives an extra nice crunch.
Smart Storage
Store uncooked rolls with parchment paper between them in your fridge. After frying, warm them up in your oven or air fryer to keep them crispy.
 Pin it
After making tons of spring rolls over the years, I've found that good prep and the right technique make all the difference. When you nail it, these homemade rolls are just as good as anything from your favorite restaurant.
Frequently Asked Questions
- → Can I prep these in advance?
- Sure! Mix up the filling early, but fry and serve freshly wrapped for best texture.
- → Is baking an option instead of frying?
- Definitely. Brush with oil and bake at 400°F for about 15–20 minutes. Flip halfway through for even browning.
- → Do these freeze well?
- Yup! Freeze uncooked rolls on a tray, toss them in a freezer bag, and fry straight from frozen when needed. Just add a little more frying time.
- → What if I don't want chicken?
- No problem—swap in shrimp, pork, or tofu for a delicious twist.
- → Why do my rolls burst during frying?
- Make sure edges are sealed well, don’t over-stuff, and roll with some slack to let steam escape.