
 Pin it
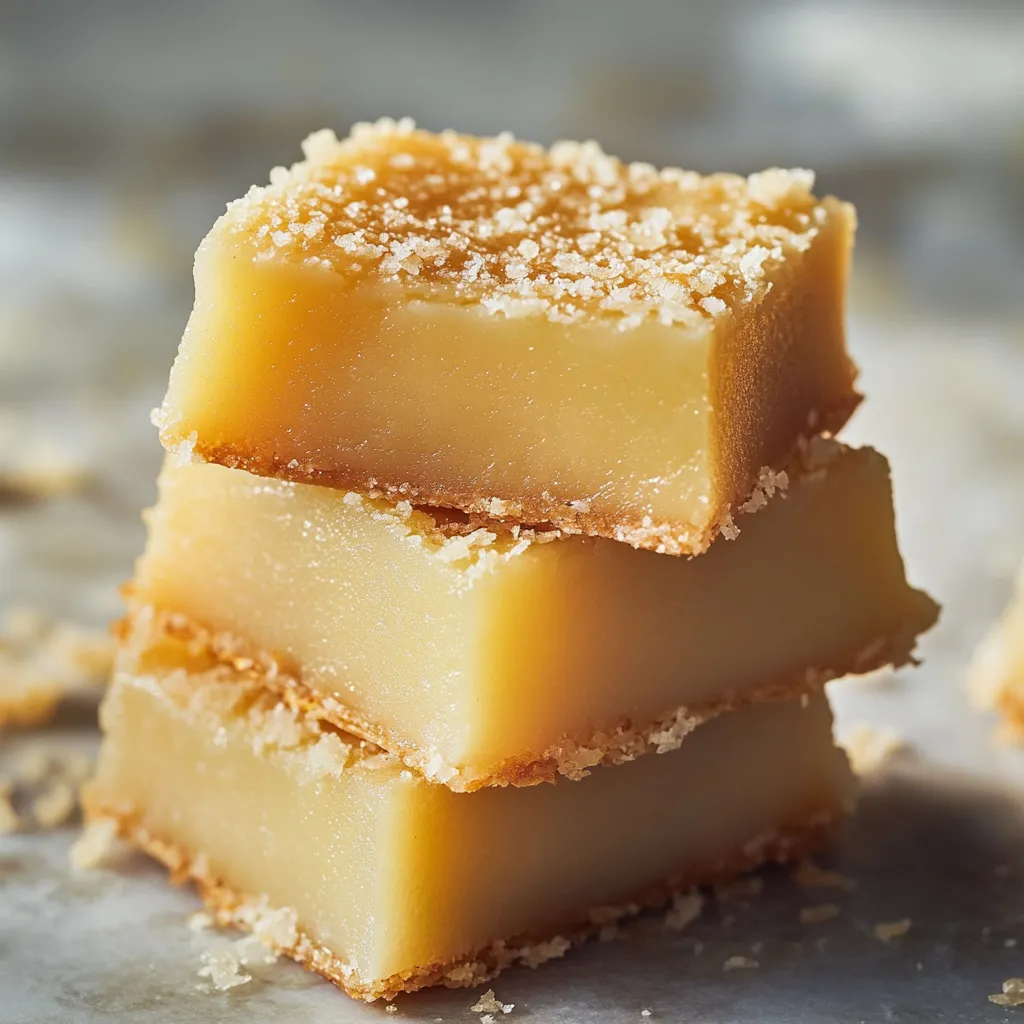
This beloved Hawaiian sweet treat turns basic ingredients into a deliciously chewy, coconut-infused delight that perfectly combines sweetness with unique texture. You'll love how each mouthful delivers soft mochi inside a crispy, golden outer layer that you just can't stop eating.
I whipped this up for my friend's Hawaiian-themed backyard party recently, and nobody could get over how the coconut exterior made such an amazing contrast with the chewy middle. Even folks who'd never tasted mochi before kept coming back to grab more pieces.
Exceptional Ingredient Breakdown
- Mochiko (Sweet Rice Flour): 1 box (16 ounces/454g), Delivers that signature chew and forms the base of your treat
- Unsalted Butter: 1 cup (226g), melted and cooled, Adds depth and helps form those irresistibly crunchy edges
- Granulated Sugar: 2 cups (400g), Works with the coconut for just the right sweetness
- Whole Milk: 1 cup (240ml), Brings creaminess and helps create that custardy middle
- Large Eggs: 4, room temperature, Holds everything together and builds texture
- Unsweetened Coconut Milk: 1 can (13.5 ounces/400ml), Brings authentic island flavor and silky smoothness
- Baking Powder: 2 teaspoons, Adds just enough rise without turning it into cake
- Pure Vanilla Extract: 1 tablespoon, Boosts all the other tastes
- Kosher Salt: 1 teaspoon, Cuts the sweetness and makes the coconut pop
- Unsweetened Shredded Coconut: 1 cup (85g), Creates that wonderful crispy top
- Flaky Sea Salt: 1/2 teaspoon (optional), Adds a fancy touch and sharpens flavor differences
Creating Your Sweet Mochi
- Getting Ready:
- Set your oven to exactly 350°F (175°C). Coat a 9x13-inch metal baking dish generously with butter, making sure to get all the edges.
- Mixing Dry Stuff:
- Combine mochiko flour, sugar, baking powder, and kosher salt in a big bowl until everything's mixed well with no clumps.
- Combining Wet Ingredients:
- In another bowl, beat your eggs thoroughly. Add milk and vanilla, stirring until everything looks smooth.
- Blending Together:
- Pour your wet stuff into the dry ingredients, mixing thoroughly with a wooden spoon. Don't worry about overmixing since mochiko doesn't have gluten.
- Final Touches:
- Add the melted butter and coconut milk to your mixture. Stir until you get a smooth, even batter that pours easily. Pour it into your buttered pan, then tap the pan firmly on the counter a few times to get rid of air bubbles. Sprinkle coconut evenly on top, then add a bit of flaky salt if you want.
 Pin it
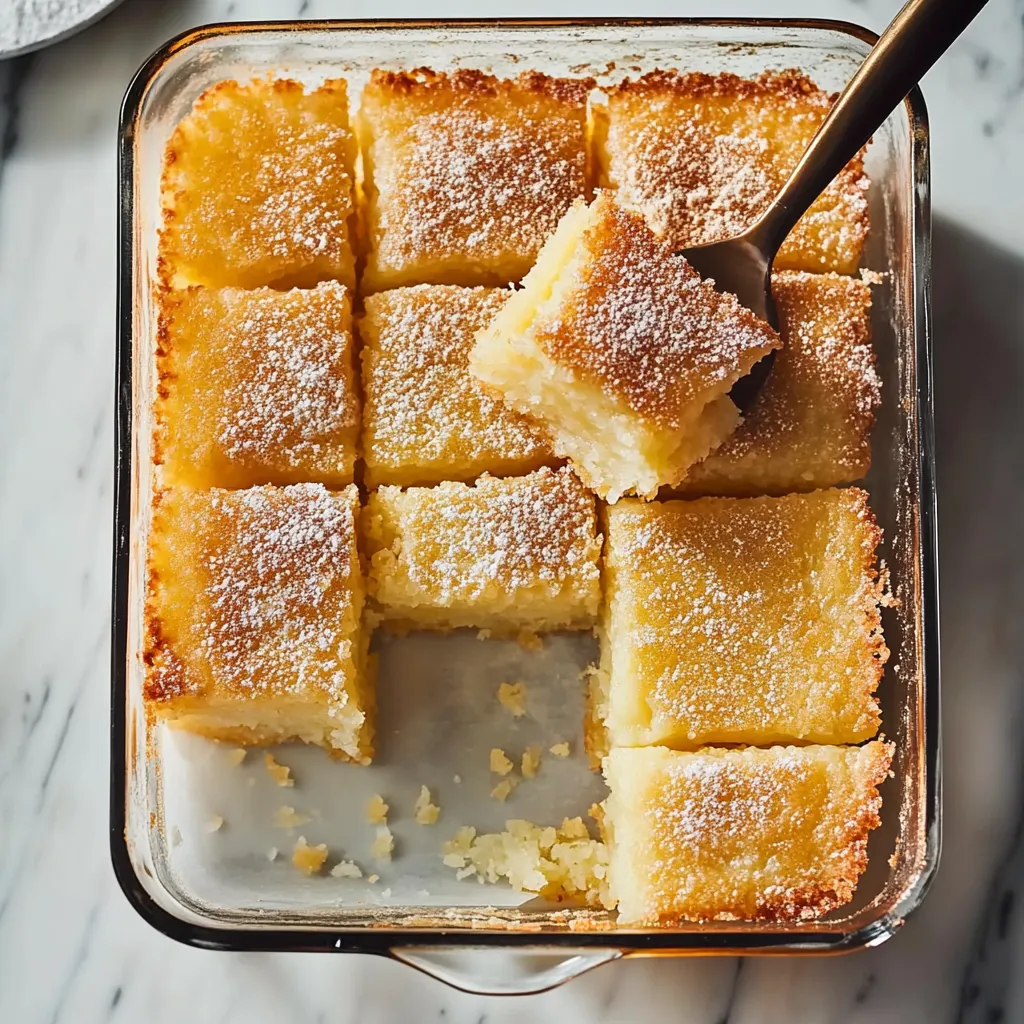
In our house, everyone fights over the corner pieces, where the edges get extra chewy and contrast so nicely with the soft middle. I've started cutting these bits bigger to avoid arguments when we're passing around the plate.
Mastering The Perfect Texture
Watch your baking time carefully to get it just right. You want the top golden brown but the middle should still have a slight jiggle. When you shake the pan gently and see a little wobble, it's time to take it out.
Letting Tastes Develop
Let your mochi cool all the way on a wire rack for about an hour before cutting into it. This waiting step helps the texture set up properly and makes cutting so much easier.
Smart Prep Approach
Getting all your stuff measured and ready before you start makes everything go smoothly. Having ingredients lined up lets you mix everything together without any hassle.
Ways To Enjoy
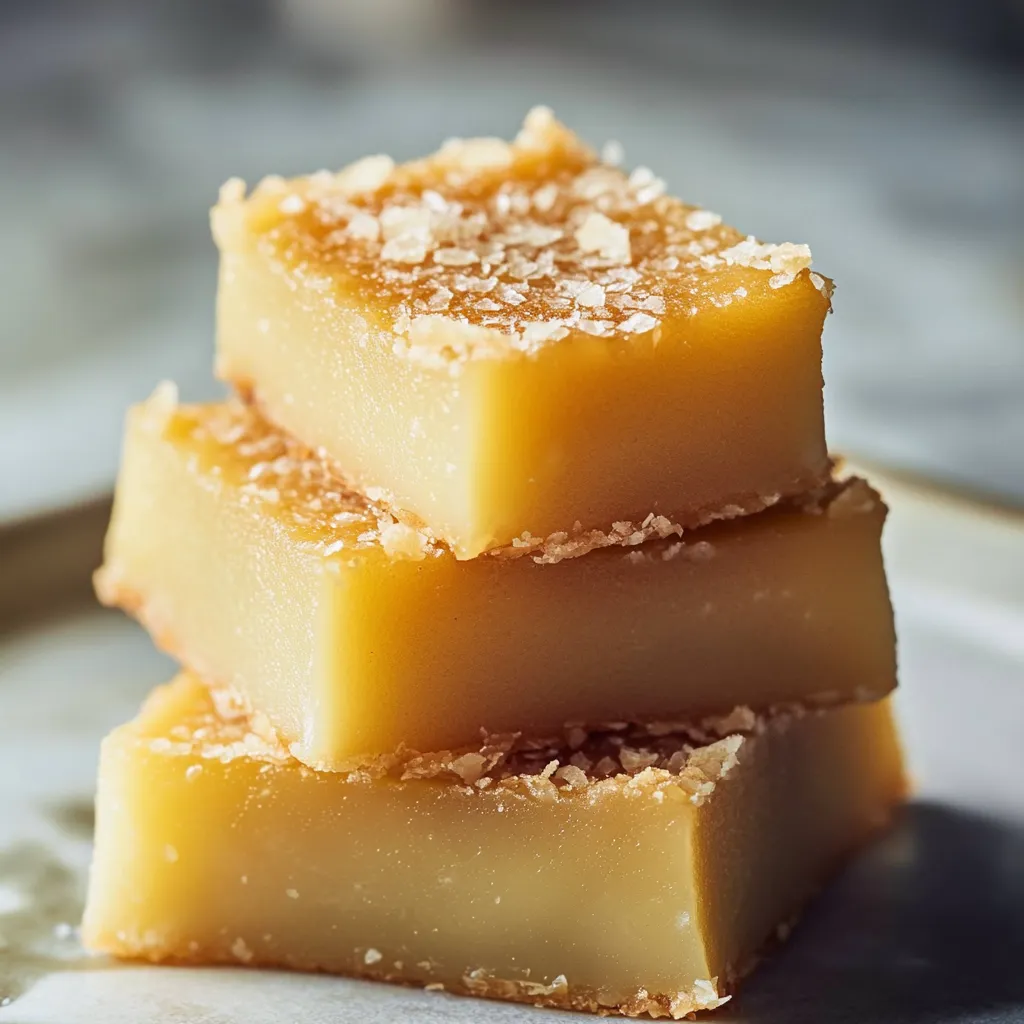
Cut your butter mochi into big squares for serving. It's great on its own, but I love to pair it with some fresh pineapple or mango when friends come over.
Customization Ideas
Try playing with different flavors by adding a splash of almond or extra coconut extract to make it your own while keeping that classic chewy texture.
Keeping It Fresh
Store your mochi in a sealed container at room temp for up to three days. The texture will shift a bit but still stays wonderfully chewy.
 Pin it
I've made tons of butter mochi over my years in the kitchen, and this version is the one I'm most proud of. There's something magical about watching people's faces light up when they take their first perfectly chewy bite. It brings folks together in such a special way. Whether you've never tried Hawaiian desserts or you've loved them forever, this butter mochi will bring a taste of the islands right to your table.
Frequently Asked Questions
- → What's mochiko flour, and where do I buy it?
- Mochiko is a type of sweet rice flour, also called glutinous rice flour. Look for it at Asian markets or in the international section of big grocery stores.
- → Why use a plastic knife to slice mochi?
- That sticky texture can make cutting tricky, but a plastic knife helps keep the pieces nice and clean.
- → Can I skip the dairy?
- Sure! Swap regular milk with extra coconut milk and use coconut oil instead of butter for a dairy-free option.
- → What's the best way to store butter mochi?
- Keep it in a sealed container on the counter for three days or pop it in the fridge for up to a week.
- → Why does mochi sometimes crack on top?
- It's normal, but to reduce it, use a moderate oven temperature and let it cool down slowly.