
 Pin it
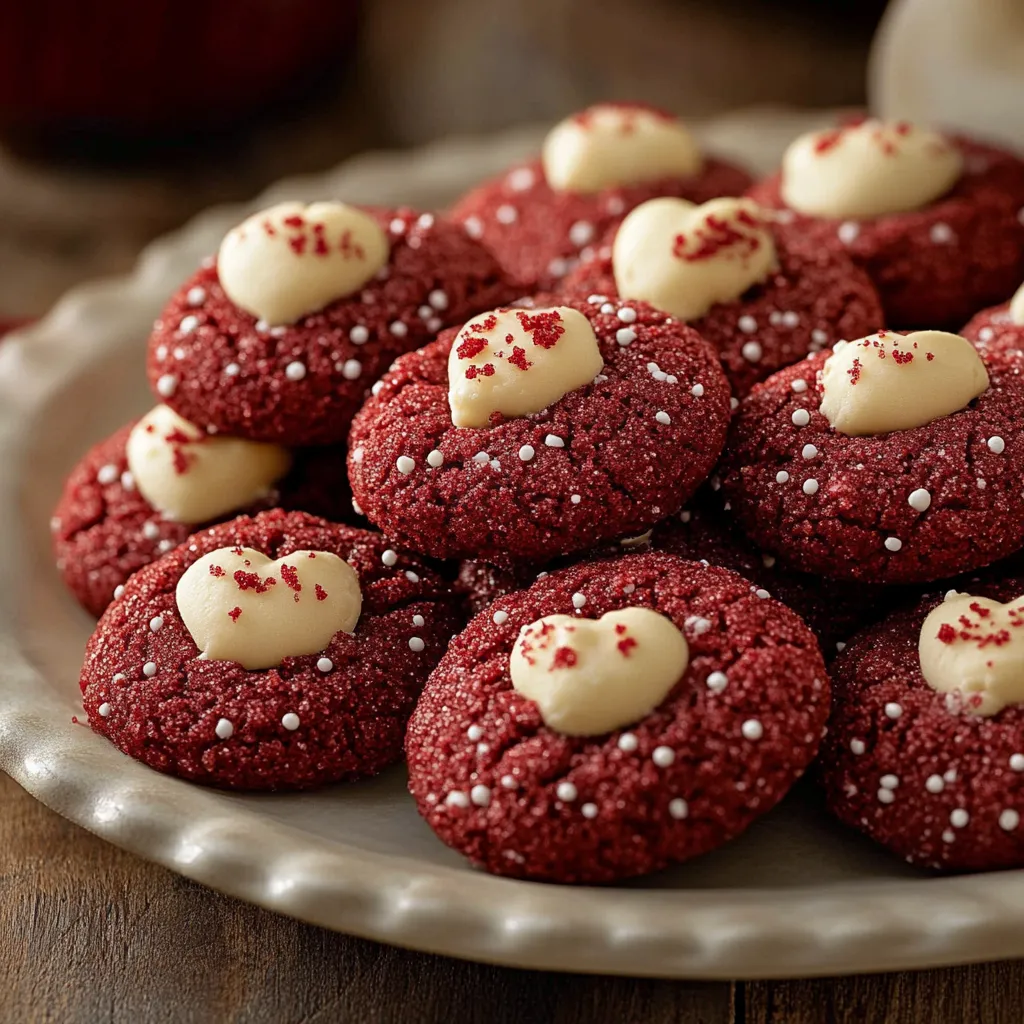
The festive marriage of thumbprint cookie design with deep red velvet traditions creates a visually impressive and mouth-watering treat. The sparkly crimson base paired with a chocolate kiss topper makes an attention-grabbing sweet that's just right for celebrations.
While baking these during the holidays, I found that keeping the chocolate kisses cold before adding them helps maintain their iconic shape when pushed into freshly baked cookies - this trick totally changed how they look.
Key Components & Smart Buying Guide
- Butter: Must be softened for proper mixing
- Cocoa Powder: Pick unsweetened for the truest red color
- Food Coloring: Go with gel types for rich shade without watering down your mix
- Sanding Sugar: Bigger crystals give the best glittery finish
- Hershey's Kisses: Keep them cool for easy handling
Step-by-Step Cookie Creation
- Step 1: Start With Creamy Foundation
- Whip butter until airy and soft. Mix in sugars bit by bit while stirring. Continue until the mixture gets lighter. Don't forget to clean bowl sides often.
- Step 2: Form Your Cookie Mix
- Mix in egg yolk and vanilla completely. Add color in small amounts. Combine dry items in another bowl. Stir together just until mixed.
- Step 3: Create Perfect Rounds
- Measure each portion the same size. Form smooth balls by hand. Roll fully in sugar coating. Put them on the tray with plenty of space.
- Step 4: Time Your Baking
- Look for mild expansion. They're ready when no longer shiny. Pull them out while still soft inside. Add chocolate pieces right away.
- Step 5: Cool And Display
- Allow to harden fully. Transfer to cooling rack after brief rest. Move carefully while still warm. Stack only when completely cool.
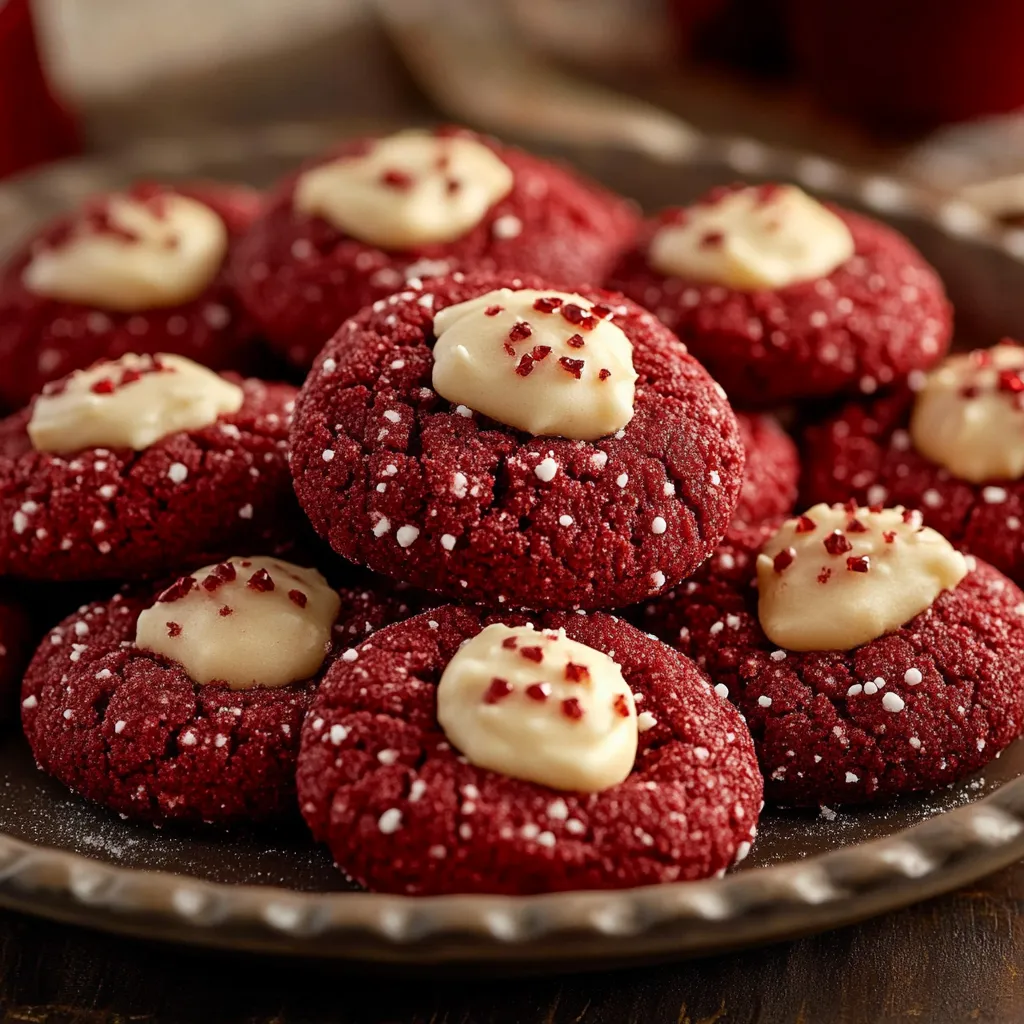
Nothing beats watching kids' faces light up when they spot these dazzling red cookies topped with chocolate kisses.
Vivid Hue Trick
Mixing in cocoa before adding your color helps you nail that deep red velvet tone without dumping in tons of food coloring.
 Pin it
Balanced Consistency Secret
Getting cookies that aren't too soft or too hard takes perfect timing - they need to welcome the chocolate piece but still keep their shape.
After making these treats through countless holiday seasons, I've realized they're not just cookies - they're little happiness creators that bring smiles to both makers and receivers.
Frequently Asked Questions
- → Can the dough be prepped in advance?
- Sure! Keep it in the fridge for up to 2 days. Just bring it back to room temp before using.
- → Why add kisses after baking?
- The heat from the cookies secures the kisses in place without turning them into a melty mess.
- → Can these cookies be frozen?
- Absolutely, they freeze like a charm for about 3 months. Store safely in a sealed box using wax paper between stacks to avoid sticking.
- → What if red sanding sugar isn’t around?
- Regular sugar works well, or switch it up with other colors to suit the occasion!
- → Why did my cookies flatten a lot?
- Your butter might've been too soft, or the dough too warm. Cooling it for half an hour helps prevent spreading.