
 Pin it
My kitchen turns into a whimsical workshop each holiday season as I craft these gingerbread houses. Spicy-sweet smells drift through the room while gingerbread bits come together as cute little cottages. It's not just about baking—it's about making moments that stick around way after the holidays end.
Genuine Festive Delight
What I really enjoy is how this brings the family around our kitchen table. If you're new to this or you've been making these houses forever, there's something really special about seeing your design come alive. The greatest thing is customizing it exactly the way you picture your ideal holiday cottage.
Your Required Supplies
- For the House: The combo of flour, sugar, warm spices and molasses I use makes sturdy walls that won't fall down.
- Royal Icing: This sticky wonder keeps everything together and makes perfect snow effects too.
- Buttercream: Makes the fun part easier and smooths over any small mistakes.
- Fun Extras: These candies, coconut and sprinkles help bring what you're dreaming up to reality.
Crafting Your Fantasy Home
- Get The Base Right
- The dough needs cooling time, then flattens perfectly between sheets of parchment.
- Form Your Structure
- Using pattern cutouts helps make pieces that connect seamlessly.
- Putting It Together
- Royal icing acts like glue, securing walls and roof sections firmly.
- Creative Freedom
- Here's where your imagination takes over, using sweets and buttercream to personalize everything.
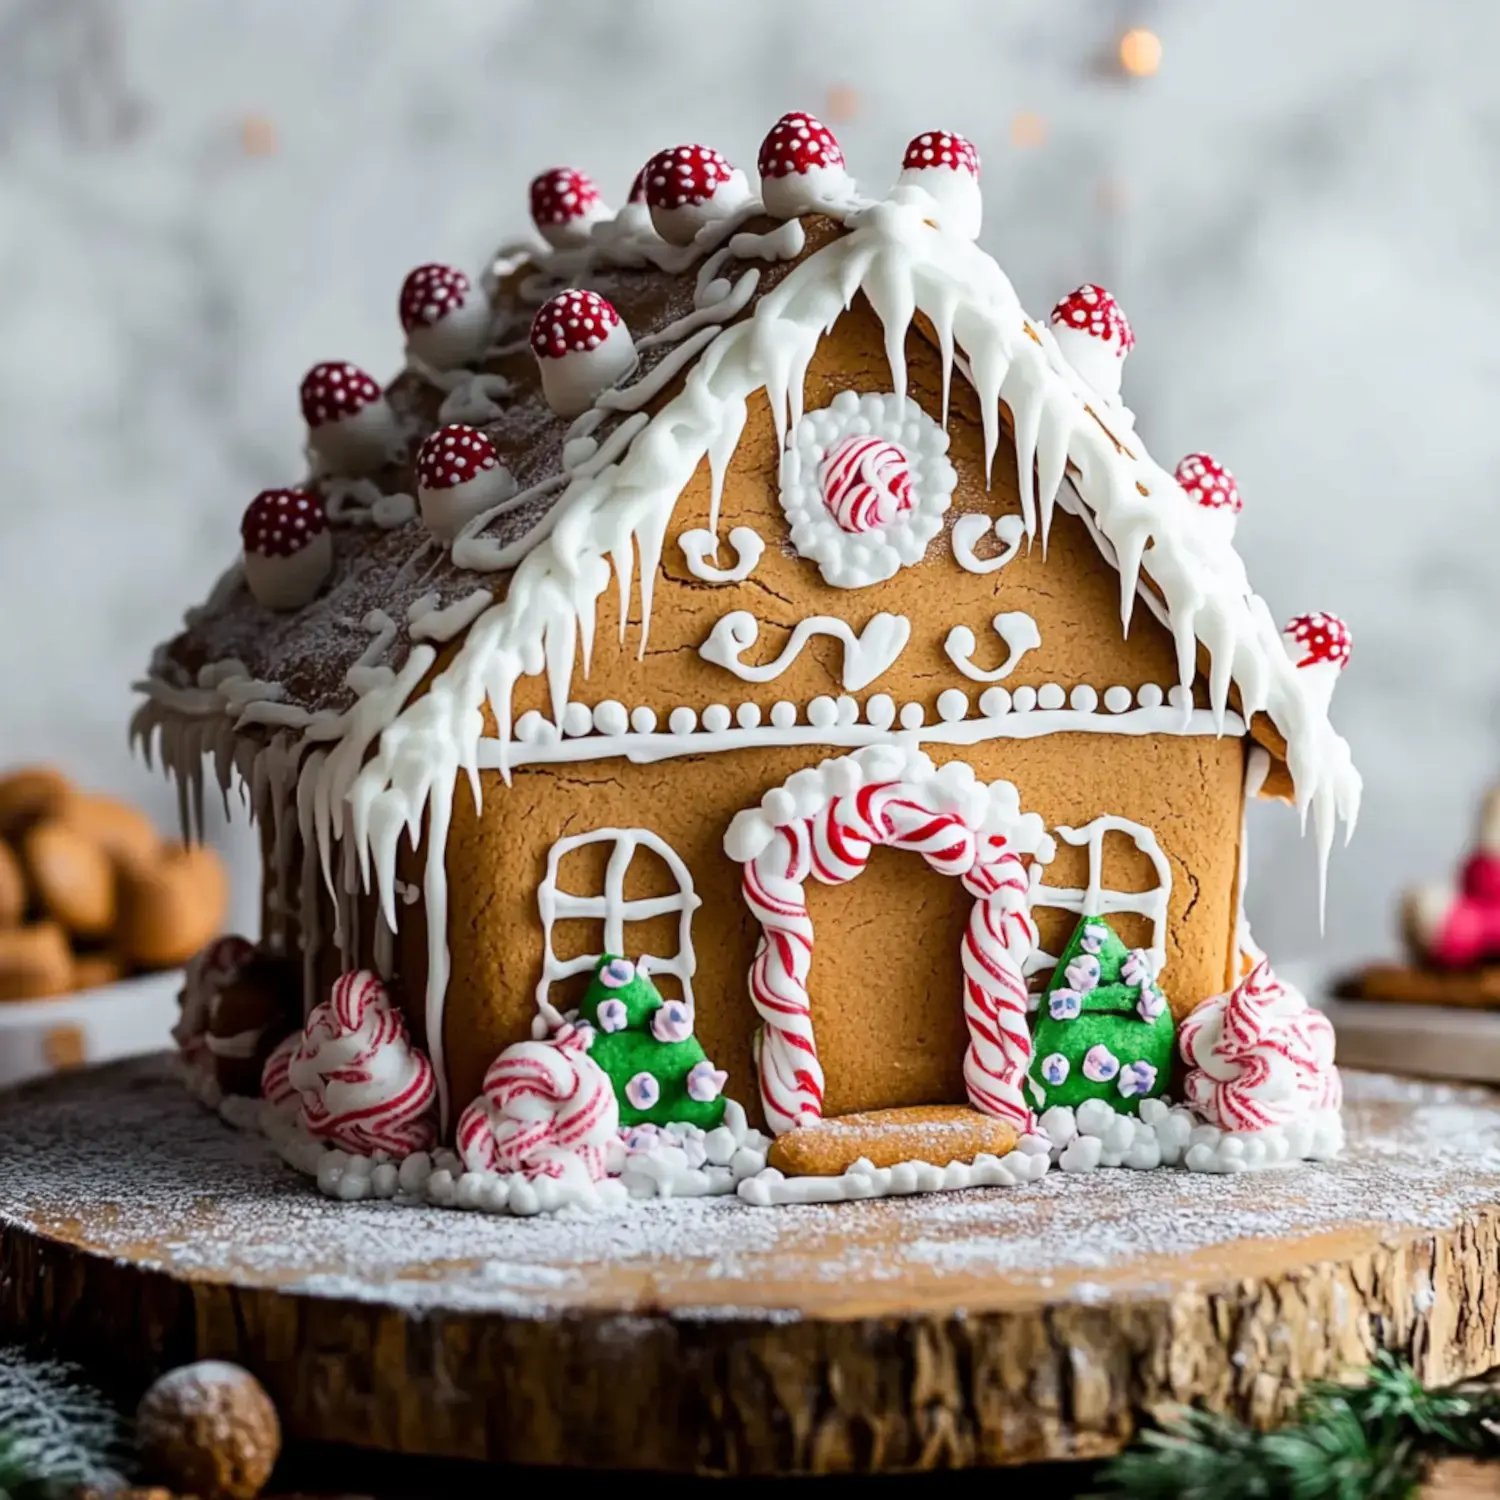
Decoration Wonder
I get a kick out of arranging bright candies into cool designs. Throwing on coconut creates the prettiest snow, and those small buttercream touches pull everything together. I'll sometimes add cinnamon sticks to give it that warm cabin feeling.
Maintaining Its Beauty
Your gingerbread creation will look good for weeks in a dry area at room temp. While you can technically eat them, these houses usually become cherished decorations that tell their own holiday tales throughout the whole season.
My Favorite Tricks
Cold dough is super important for getting pieces that won't warp. I always put extra icing at the corners for stronger bonds. When something doesn't quite work out, a bit of buttercream piping can turn any oops into something charming.
Make It Uniquely Yours
I often melt hard candies for colorful windows or stack pretzels for a country cabin style. Little candy wreaths or striped candy decorations give each house its own character. You can try so many different things.
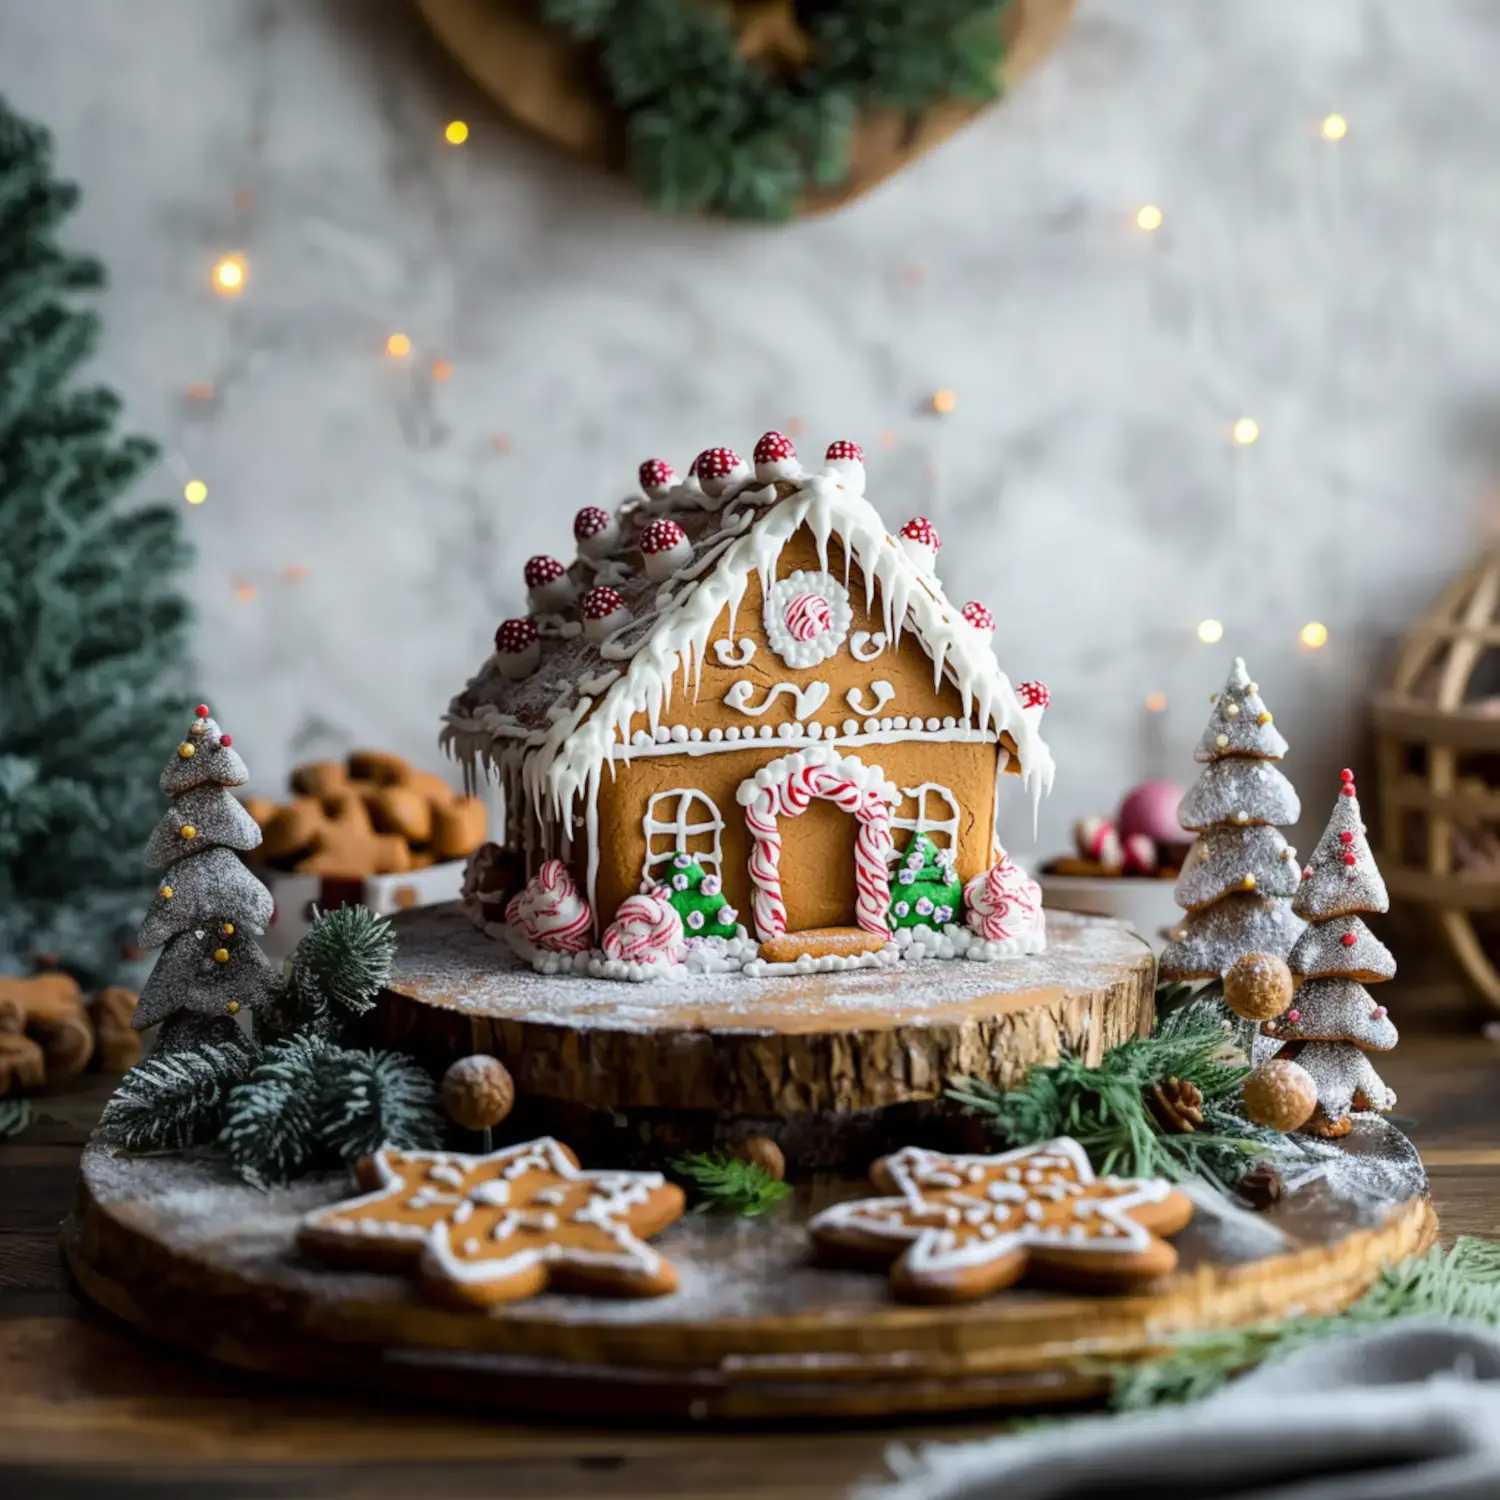
Building Family Traditions
The true wonder happens when everyone gathers to build these houses as a team. The giggles, stories we swap, and creative moments transform this from a simple holiday activity into something we'll talk about for years to come.
 Pin it
Frequently Asked Questions
- → Why leave the house to dry before decorating?
The icing takes 4-6 hours to fully set, ensuring the structure doesn’t fall apart. If rushed, the house might collapse.
- → Can pieces be baked in advance?
Yes! Baked parts stay good for up to a week at room temperature or 3 months frozen. The fully built house is best assembled a day ahead.
- → What’s the deal with parchment paper?
Since the dough is sticky, rolling it on parchment avoids mess and sticking, even with extra flour.
- → Why do you use two frostings?
Royal icing is the glue that holds things together, while crusting buttercream is softer and works better for decorated details.
- → Can I save leftover icing?
Both types can be stored in the fridge. Just let them warm up to room temperature before using.
Conclusion
A complete tutorial on building a lovely gingerbread house, from making the dough to adding decorative details.