
 Pin it
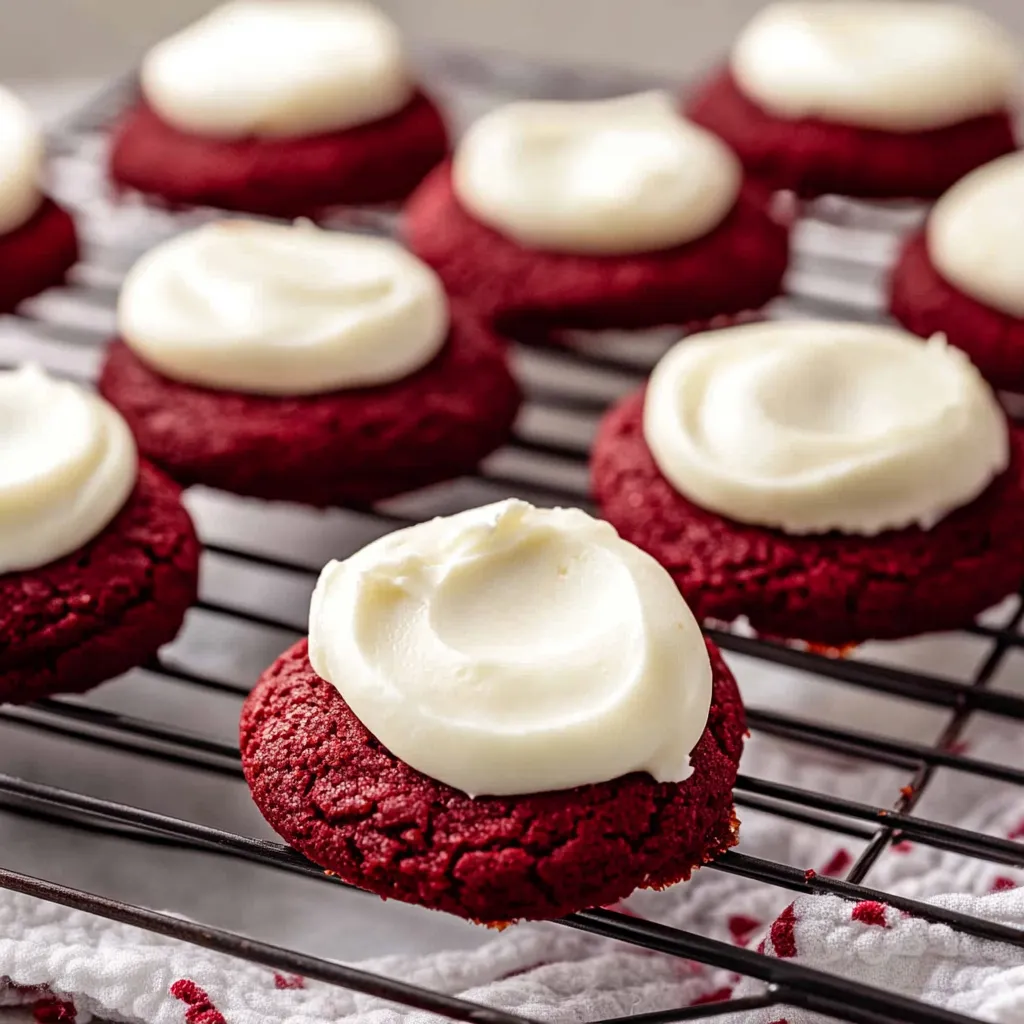
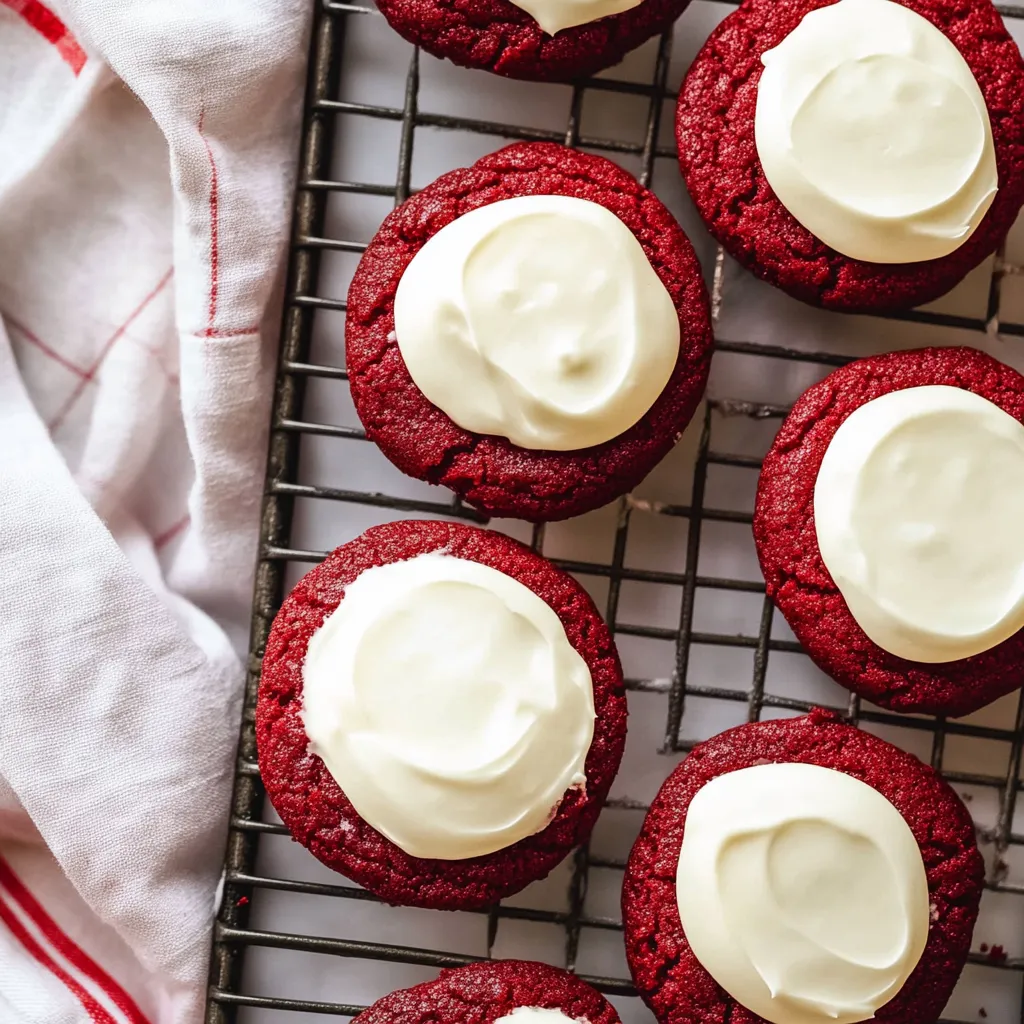
These mouthwatering red velvet cookies bring upscale bakery taste straight to your home. Each one has that perfect chewy bite with subtle cocoa flavors, topped with smooth cream cheese frosting. Unlike shortcuts using boxed mixes, these are made completely from scratch, giving you that true red velvet experience in every mouthful.
I've tweaked this recipe dozens of times in my kitchen, and it's now what my family asks for most. When these treats come out hot from the oven, my kids always crowd around, waiting impatiently for me to add the frosting.
Key Ingredients Breakdown
- All-purpose flour (2¼ cups): Go for unbleached for its protein levels. Spoon it into measuring cups and level off for the right amount
- Natural cocoa powder (3 tablespoons): Dutch-processed works better for color and taste. Make sure it's fresh and smells strong
- Unsalted butter (1 cup): European kinds with extra butterfat make cookies taste better. It needs to be perfectly soft
- Granulated sugar (1½ cups): Real cane sugar helps create that chewy cookie texture we want
- Large eggs (2): Fresh from the farm and warm to room temp for best mixing
- Pure vanilla extract (2 teaspoons): Skip the fake stuff and use real extract for genuine flavor
- Red gel food coloring (2 teaspoons): The pro-grade gel gives bright color without making the dough runny
- Baking soda (1 teaspoon): Check that it's fresh for proper cookie lift
- Fine sea salt (½ teaspoon): Brings out chocolate flavors and cuts the sweetness
For The Cream Cheese Topping
- Full-fat cream cheese (8 ounces): Try using Philadelphia brand for reliable results
- Unsalted butter (¼ cup): European style makes it taste richer
- Pure vanilla extract (1 teaspoon): Madagascar bourbon vanilla tastes amazing here
- Powdered sugar (2 cups): Don't forget to sift it for smooth frosting
- Fine sea salt (⅛ teaspoon): A tiny bit makes all the flavors pop
Baking Method Steps
- Prep Work:
- Get everything ready at the right temperature, letting butter and eggs warm up naturally for better mixing.
- Mix Dry Stuff:
- Stir flour, cocoa, and rising agents until well combined with no cocoa clumps left.
- Cream Together:
- Beat butter and sugar until it looks fluffy and turns noticeably lighter in color.
- Add Eggs:
- Put in one egg at a time, mixing each completely before adding the next one.
- Red Color:
- Mix in food coloring bit by bit until you get a deep red with no streaky parts.
- Add Flour Mix:
- Fold in dry ingredients gently, stopping as soon as everything's mixed.
- Shape Cookies:
- Use a cookie scoop to make same-sized portions so they'll bake evenly.
 Pin it
My grandma always told me to let eggs and butter sit out until they weren't cold. After baking for years, I get it now. One day when I was in a hurry, I used cold stuff from the fridge, and my cookies spread all weird and weren't chewy like they should be.
Stunning Presentation Ideas
These cookies taste best when they're not cold from the fridge. For fancy events, I stack them on a multi-level plate stand, making them look as good as anything from a fancy bakery. During Christmas and other gatherings, they're always the star of our dessert table, and they're usually gone before anything else.
Fun Flavor Twists
- Sprinkle crushed candy canes on top during Christmas season
- Throw in some tiny chocolate chips for extra chocolate goodness
- Try playing with different flavor extracts to create your own special version
Smart Storage Tips
Keep frosted cookies in containers that seal tight, with wax paper between each layer to keep the frosting looking nice. They'll stay fresh for 5 days on your counter or up to 2 months in the freezer. If freezing, store unfrosted cookies in freezer bags with parchment paper between them.
Over the years of making these cookies better and better, I've found that taking your time during mixing really pays off. Every batch I make reminds me how good it feels to create something truly special from basic ingredients.
 Pin it
Frequently Asked Questions
- → Can I make these ahead of time?
- Absolutely! Keep the frosted cookies in a sealed container at room temperature for five days or freeze for a few months.
- → What food coloring should I use?
- Gel coloring works the best since a small amount delivers bold color without making the dough too wet. AmeriColor is a favorite brand.
- → Why use room temperature ingredients?
- Softened items like cream cheese, butter, and eggs mix more evenly, giving your cookies a better texture.
- → Are they good without frosting?
- Yep, they’re tasty as is! But the cream cheese frosting adds that red velvet magic everyone loves.
- → How do I tell when they’re baked?
- Look for puffed-up cookies with firm edges, usually in 10-11 minutes. The middles might seem soft but set as they cool.