
 Pin it
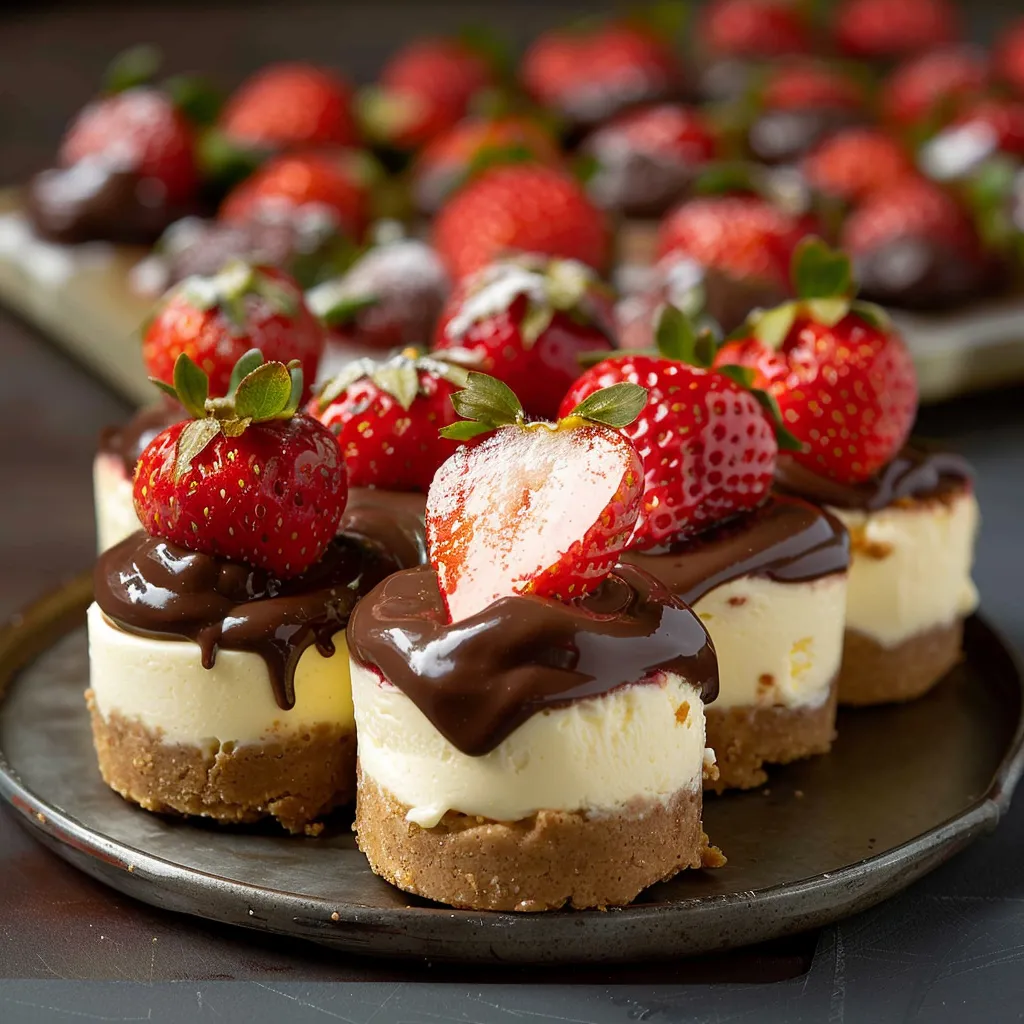
These bite-sized strawberry cheesecakes dunked in chocolate bring together two favorite sweets in one fancy little package. Each smooth, personal-sized cheesecake comes topped with shiny melted chocolate and a chocolate-covered strawberry, making them look amazing for any big event. The mix of velvety cheesecake, crisp chocolate, and juicy berries makes every mouthful something you'll want to enjoy slowly.
When I made these for my sister's party before her wedding, nobody thought they weren't store-bought. The trick is getting the chocolate just right so it's glossy and breaks with a snap.
Key Ingredients and Smart Picking Advice
- Chocolate: Go for good quality bars instead of chips for better melting. I've tried tons of kinds, and found that 60-70% cocoa works best for balanced flavor
- Strawberries: Look for medium ones with deep color and no soft spots. I've noticed smaller berries sit better on top
- Cream Cheese: Don't skimp on fat content, and let it warm up first for the best texture. I learned the hard way that cold cream cheese makes bumpy batter
- Graham Crackers: Get fresh, crunchy ones for your base. After trying different types over the years, honey graham crackers give the nicest sweet taste
 Pin it
After making these countless times, I've found that watching temperatures is super important. One batch I made during Christmas showed me how properly handled chocolate really makes them look and feel way better.
Step-by-Step Cooking Guide
- Making Your Base:
- Start by crushing graham crackers really well - a food processor works great. Mix with melted butter until it looks like damp sand. Push firmly into mini molds with something flat-bottomed, getting an even layer. When you pack it down right, it won't fall apart when you take it out.
- Mixing The Filling:
- Whip room temperature cream cheese until it's totally smooth with no lumps at all. Slowly add sugar, then eggs one by one, just mixing enough to combine them. Don't overmix or you'll get air bubbles that can make cracks. Gently stir in vanilla and a tiny bit of salt.
- Baking Them Right:
- Put the same amount in each cup using a small cookie scoop for even sizes. Bake at 325°F until they're mostly set but still wobble slightly in the middle. After baking, turn off the oven but leave them inside with the door open a bit - this stops them from cracking from quick temperature changes.
- Handling Chocolate:
- Create a makeshift double boiler with barely bubbling water. Cut chocolate into small pieces so it melts evenly. Heat it to exactly 115°F for dark chocolate (110°F for milk), then cool to 88°F while constantly stirring. This process makes sure your chocolate turns out shiny and sets correctly.
While working a food event, I discovered that putting chocolate-dipped strawberries in the fridge helps the coating harden with a beautiful glossy look.
Watching Your Temperatures
Getting things right means keeping an eye on heat levels throughout - from warmed-up ingredients to properly treated chocolate.
Prep-Ahead Plan
You can make the cheesecakes two days early, but save the strawberry dipping and chocolate topping until you're ready to serve.
Keeping Them Fresh
Keep plain cheesecakes in a sealed container. Once you've dressed them up, try to eat them within a day.
Looking Their Best
Set them out on a stand with different levels, adding some fresh flowers or extra berries to make them look really special.
Final Thoughts: These mini chocolate-covered strawberry cheesecakes really show how good technique and tasty ingredients come together perfectly. Through making them for many special events, I've found that little details - from properly treated chocolate to well-baked cheesecakes - turn basic ingredients into something really impressive. Whether it's for a date night or big celebration, they always get smiles and people asking how to make them.
 Pin it
Frequently Asked Questions
- → What can I use if I don’t have a mini cheesecake pan?
- A lined muffin tin works fine. Just keep in mind that the texture and ease of removing them might not be identical.
- → Why do cheesecake tops crack?
- Cracks happen if they’re baked too long or cooled too fast. Stop baking once the center sets, and let them cool slowly at room temp before refrigerating.
- → Can I get these ready in advance?
- Sure! You can make them a day or two ahead, but wait to top them with berries and chocolate until you’re ready to serve.
- → Which chocolate melts best for this?
- Go for 56% dark chocolate here, or pick a quality brand with 50-60% cocoa for great texture and flavor.
- → How can I stop chocolate from getting a white film?
- Tempering the chocolate is key. You can also serve them right away or refrigerate them, but moisture in the fridge may affect the look.