
 Pin it
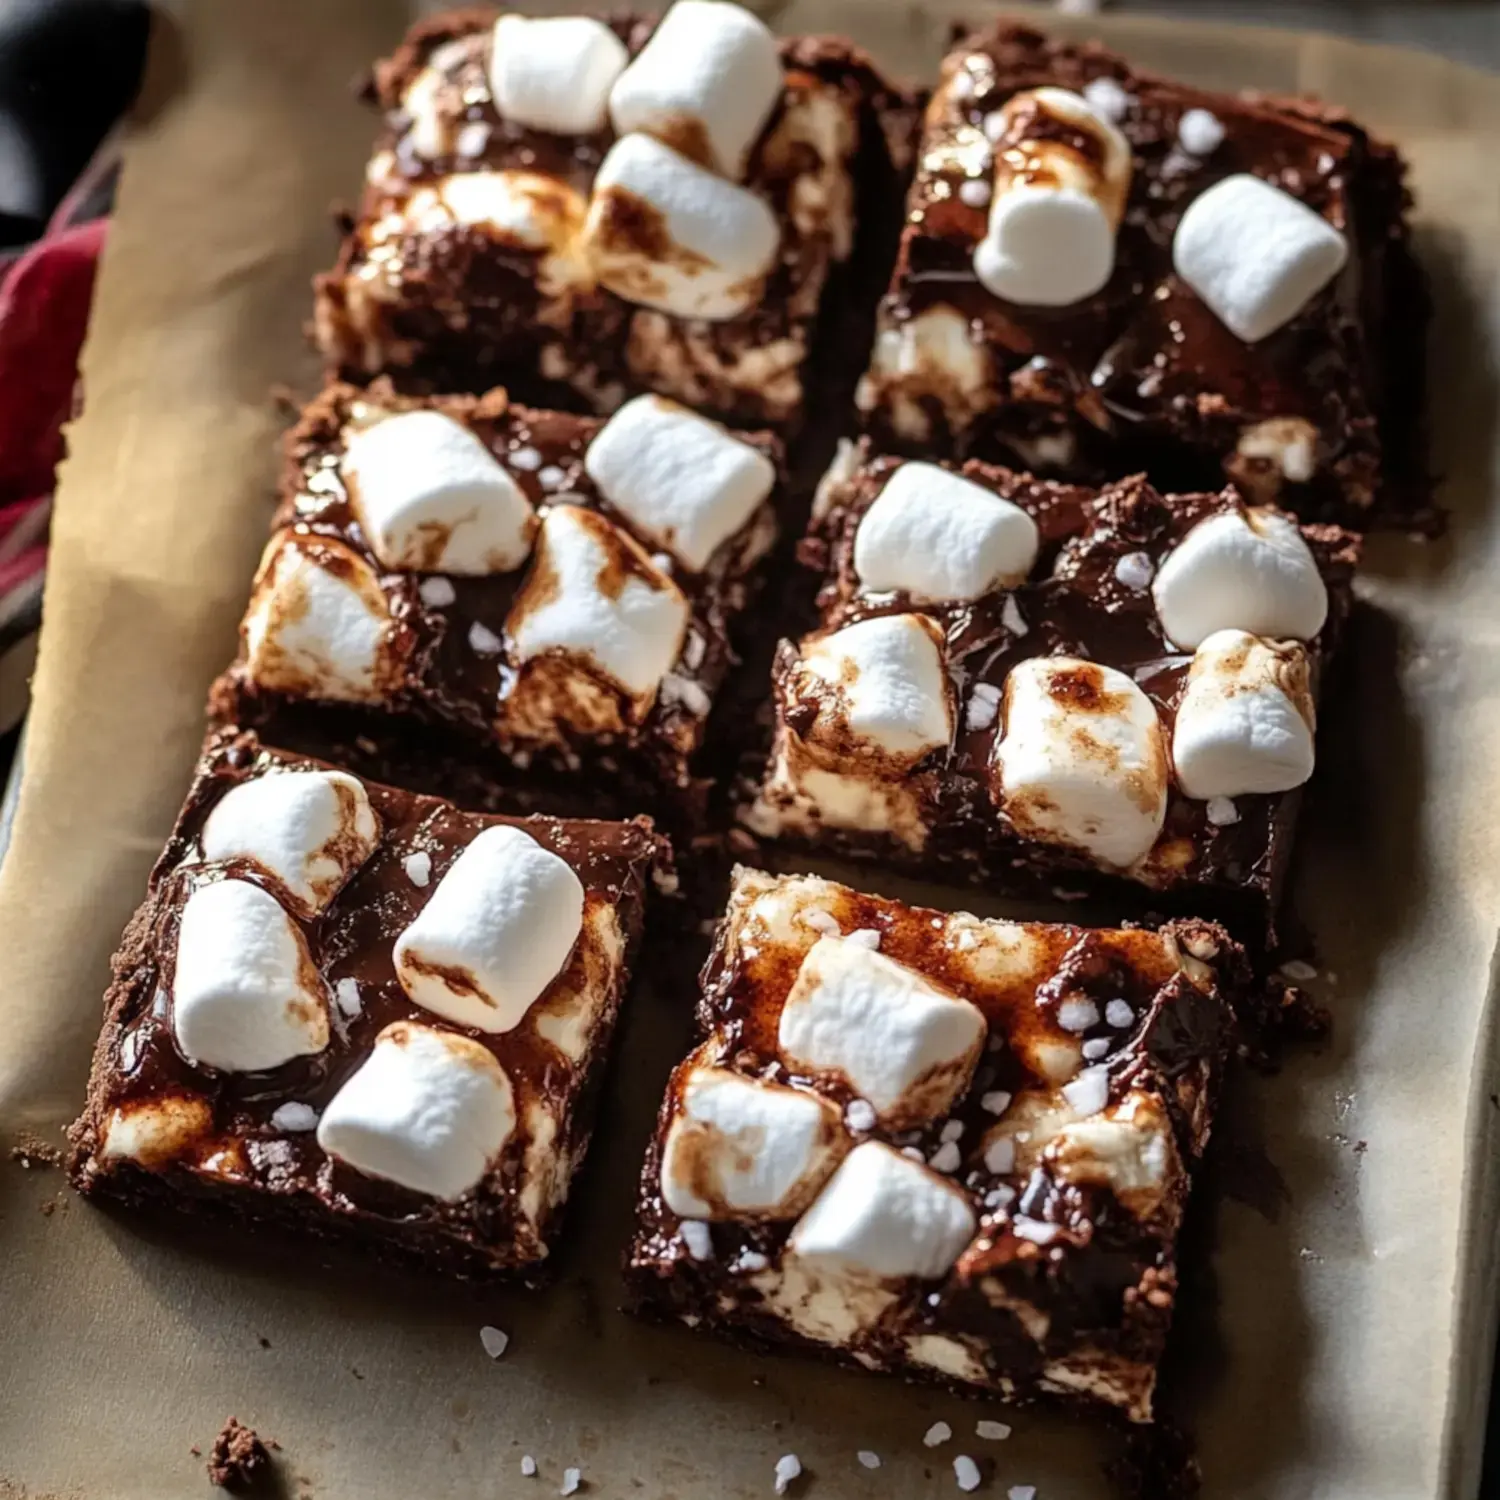
These Toasted Marshmallow Hot Chocolate Bars bring total winter wonder to my home. When those sticky marshmallows sink into those thick chocolate sections, something truly amazing happens. A splash of hazelnut liqueur adds that grown-up touch, making them fantastic for chilly evenings or as wrapped gifts during the holidays.
Why You'll Love These
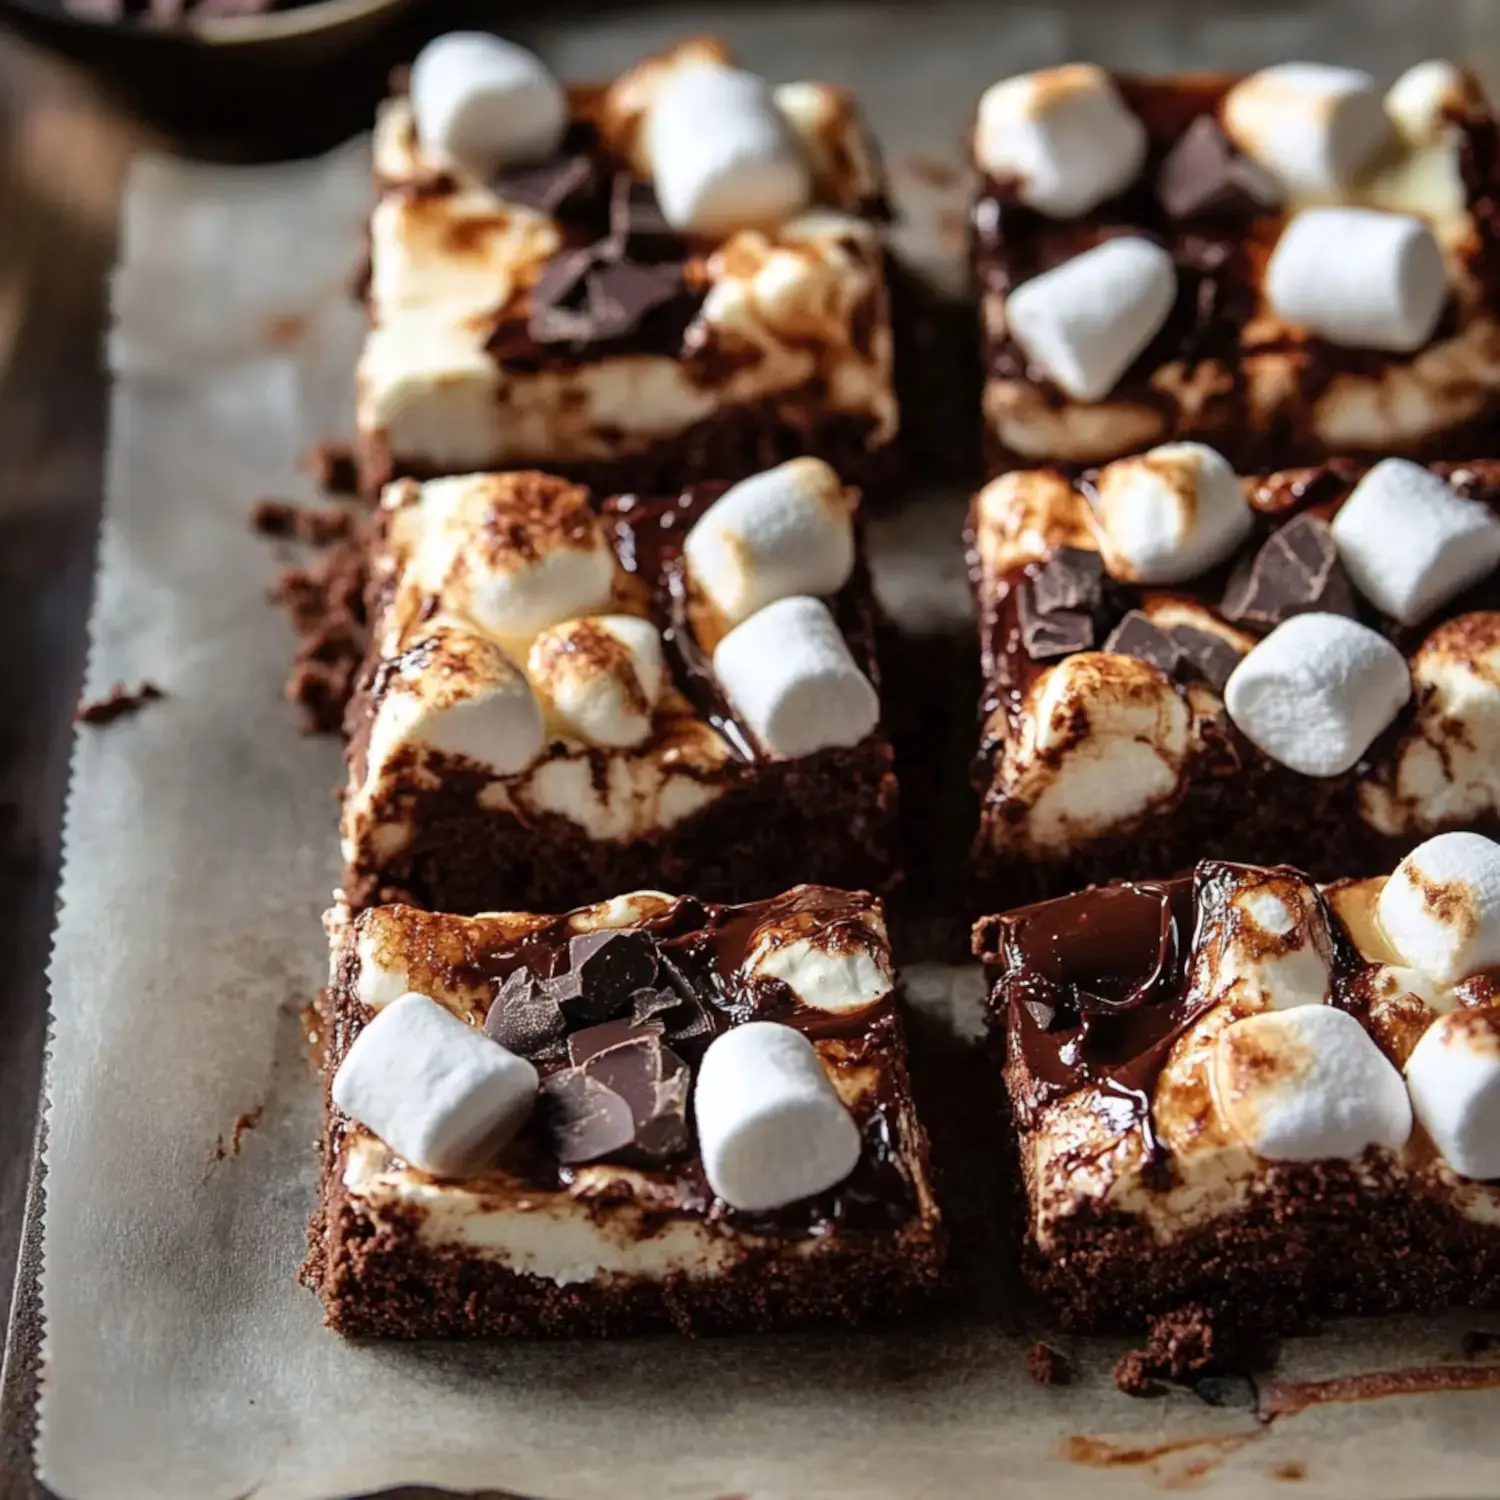
I can't get enough of these chocolate treats. Each bite offers something different - from melty chocolate to those perfectly browned marshmallows on top. There's a lovely kick from the hazelnut liqueur, while the contrast between crisp edges and soft middles gives you the best mouthfeel ever. They're quick to whip up but feel totally fancy.
What You'll Need
- Chocolate Chips: Semi-sweet works as the perfect foundation.
- Sea Salt: Enhances every single flavor.
- Marshmallows: They'll get gorgeously golden.
- Chocolate Chunks: Because extra chocolate makes everything better.
- Salted Butter: Adds amazing depth.
- Sugar: Balances everything nicely.
- Hazelnut Liqueur: My trick for incredible taste.
- Vanilla: Gives that cozy background note.
- Eggs: They create that gorgeous crackly surface.
- Flour: Gives these bars their shape.
- Cocoa: For deeper chocolate goodness.
Baking Instructions
- Final Layer
- The rest of the mix goes on top with bonus chocolate pieces because more is better! Then they'll finish baking in the oven.
- First Steps
- I always use warm eggs for that perfect crackly top we want. Just put them in warm water for a few minutes.
- Chocolate Magic
- There's nothing like watching butter and chocolate become one smooth mixture. We'll stir in sugar, liqueur and vanilla after.
- Getting Bubbly
- Give those eggs a good whip until they're light and fluffy - it really changes how the bars turn out.
- Building Layers
- Mix everything into a beautiful batter, then pour half into your pan.
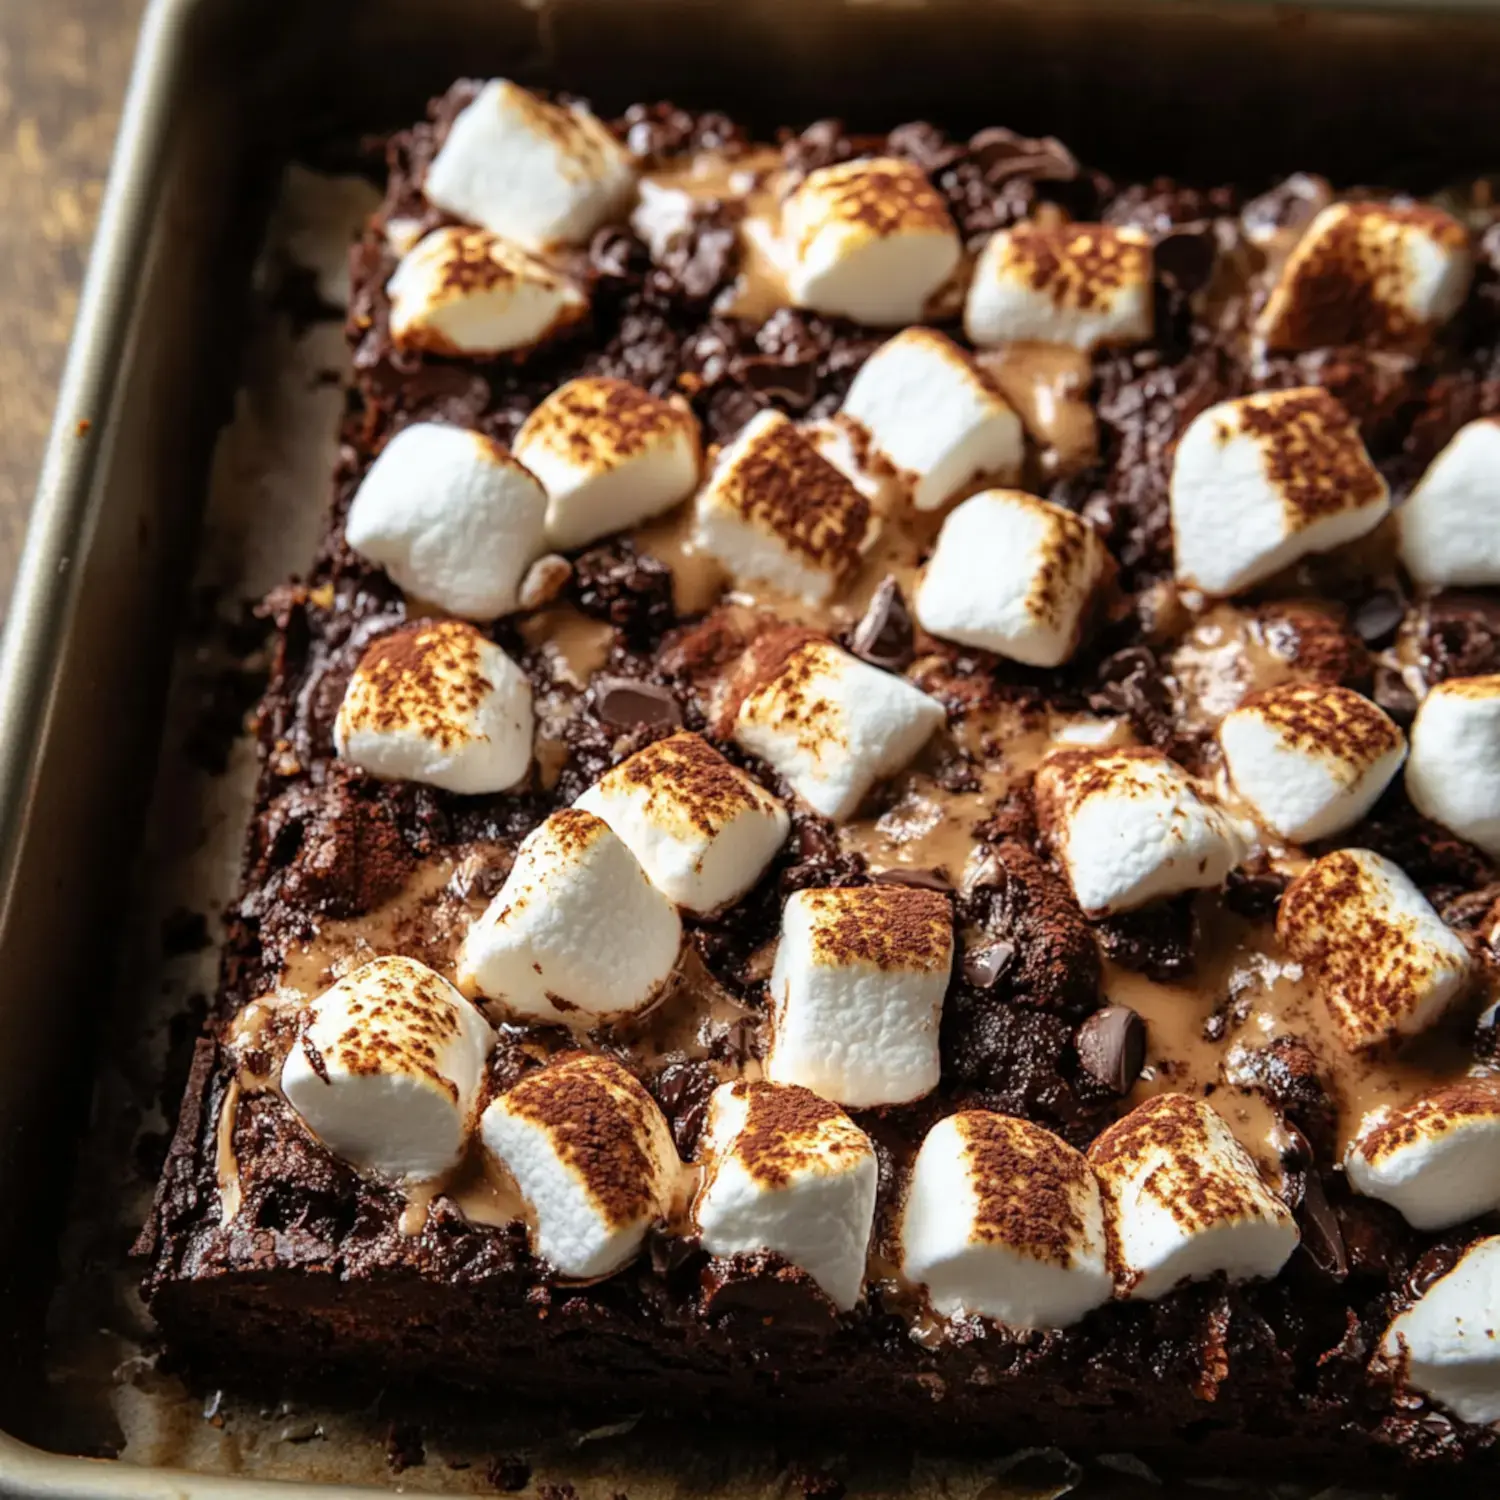
- Toasting Time
- Here comes the fun part - watching those marshmallows turn golden under the broiler flame.
Pro Tips
Don't walk away when those marshmallows are under the broiler - they'll burn in a flash! Let the bars cool completely for the best texture. I sometimes swap in dark chocolate when I'm craving something not too sweet.
 Pin it
Storage Advice
Store these treats in a sealed container on your counter. I often make a double batch to freeze so I've got a sweet treat whenever I want one. When I give them as presents, I wrap them in parchment with bright ribbons and add the recipe card - folks always appreciate the personal touch.
What Makes Each Bite Special
The beauty of these bars is how they pack all the goodness of hot cocoa into a chewy square you can hold. They're simple enough for everyday baking but fancy enough for special occasions. That mix of warm gooey marshmallow with rich chocolate puts a smile on everyone's face.
Basic Equipment
You don't need fancy gear for these treats. Just grab your mixing bowls, a whisk, and your favorite brownie pan. Lining with parchment paper is my go-to trick for easy removal, and your oven's broiler creates those beautifully toasted marshmallow tops without any special tools.
Fun Variations
I'll throw in crushed candy canes at Christmas or a handful of chopped walnuts for some crunch. Trying different liqueurs creates whole new flavors - the coffee version tastes amazing too. For kid-friendly batches, I leave out the booze and add a bit of espresso powder to make the chocolate taste even richer.
Serving Suggestions
Nothing beats these bars when they're still a bit warm with cold vanilla ice cream melting on top. They taste great with a mug of hot chocolate on snowy days or next to festive drinks at holiday parties. The contrast between hot and cold creates something truly magical.
Toasting Technique
Getting that golden color on your marshmallows adds such amazing flavor. The hint of smokiness reminds me of summer bonfires but works perfectly with rich chocolate too. It's what makes everyone remember these bars long after they've eaten them.
Gift Giving Ideas
I love wrapping these bars as presents. They look great in colorful holiday containers with homemade recipe notes and maybe a cute mug too. It feels like I'm sending a bit of homemade happiness to friends and family, making their holiday season a touch sweeter.
 Pin it
Frequently Asked Questions
- → What’s the point of broiling marshmallows?
- Broiling makes them golden and toasty without turning into a puddle. Keep an eye on them so they don’t burn.
- → Is hazelnut liqueur necessary?
- Nope, it’s optional. It’s just for flavor, and skipping it won’t change how they bake.
- → Why are they messy to slice?
- If they’re warm, the marshmallow layer stays gooey. Chill them completely or use a warm knife for cleaner pieces.
- → What’s the best way to keep them fresh?
- Use an airtight container and store at room temperature, layering parchment between them so they don’t stick. Good for 5 days.
- → Can I prep these beforehand?
- Absolutely. Make them up to two days in advance. Once cooled, they’re perfect for gifting or sharing!