
 Pin it
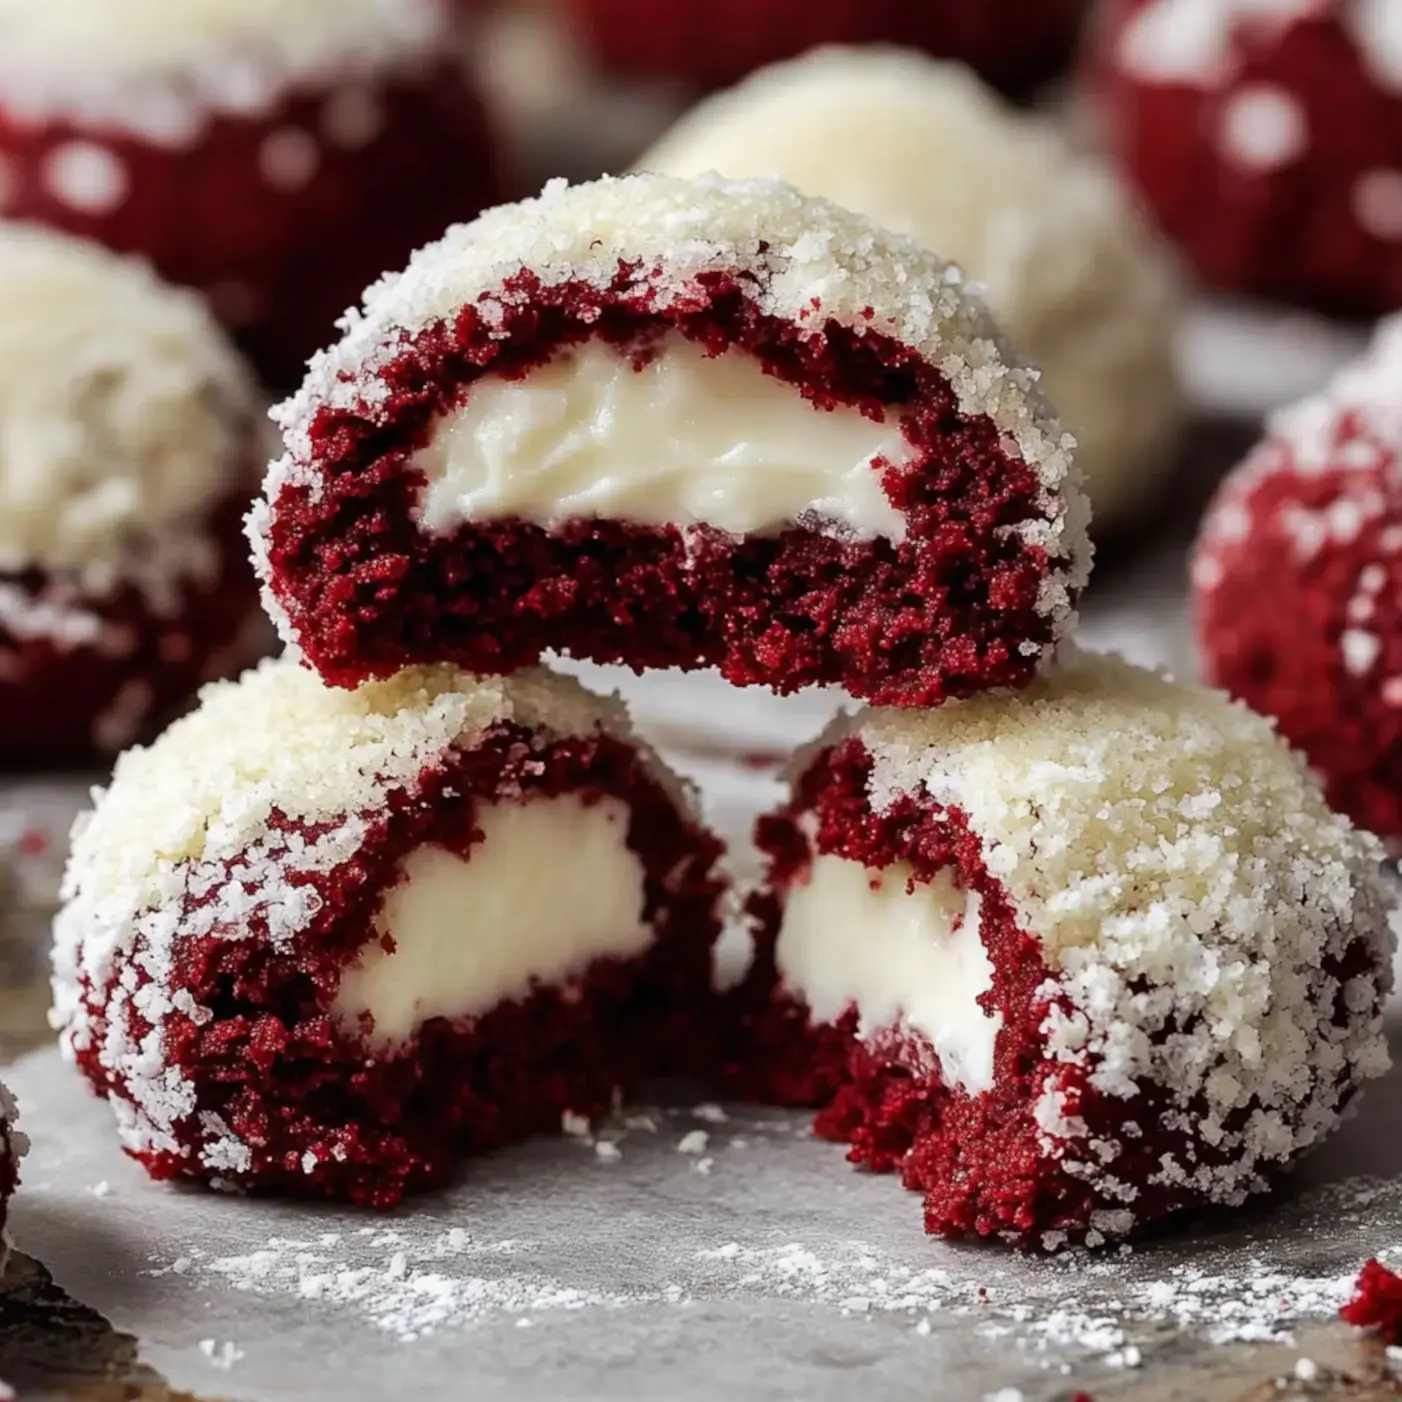
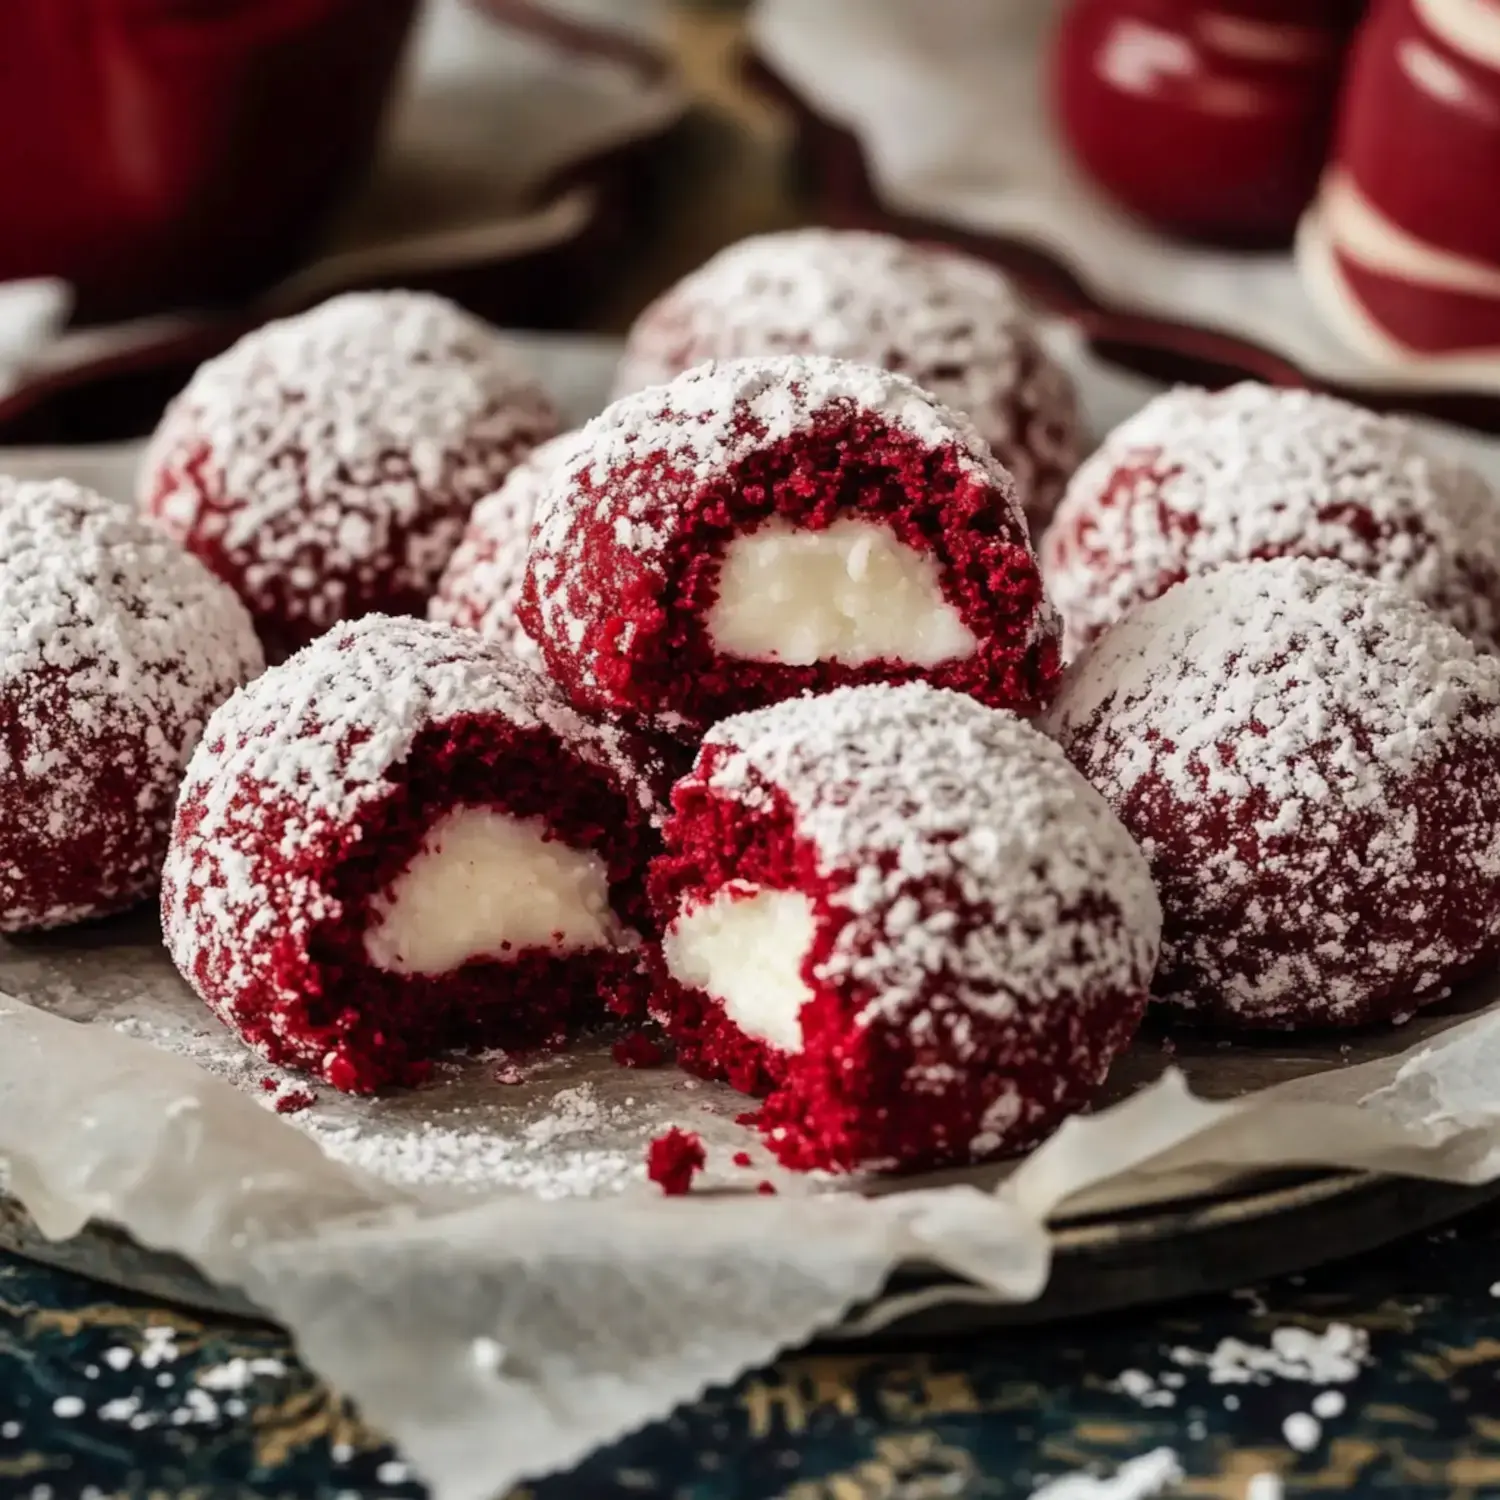
Taking one bite of these Crimson Snowball Cookies brings me straight back to those frosty winter afternoons spent in my grandma's warm kitchen. These deep ruby treats covered in a fine dusting of powdered sugar look exactly like miniature snowballs, and when you chomp down, that smooth white chocolate middle just melts away in your mouth. It's winter wonderland magic transformed into a sweet treat.
Delightful Winter Memories With Each Nibble
I whipped these cookies up during a snowy day while watching my children frolic outside. Something about their pink, cold-kissed faces coming back indoors got me thinking about mixing traditional snowball cookies with decadent red velvet and a hidden white chocolate surprise. They now ask for these treats whenever the first flakes start drifting down.
What Makes These Cookies Stand Out
- Stunning Appearance: The beautiful ruby color showing through that snowy powdered sugar coating makes everyone grin when they first see them.
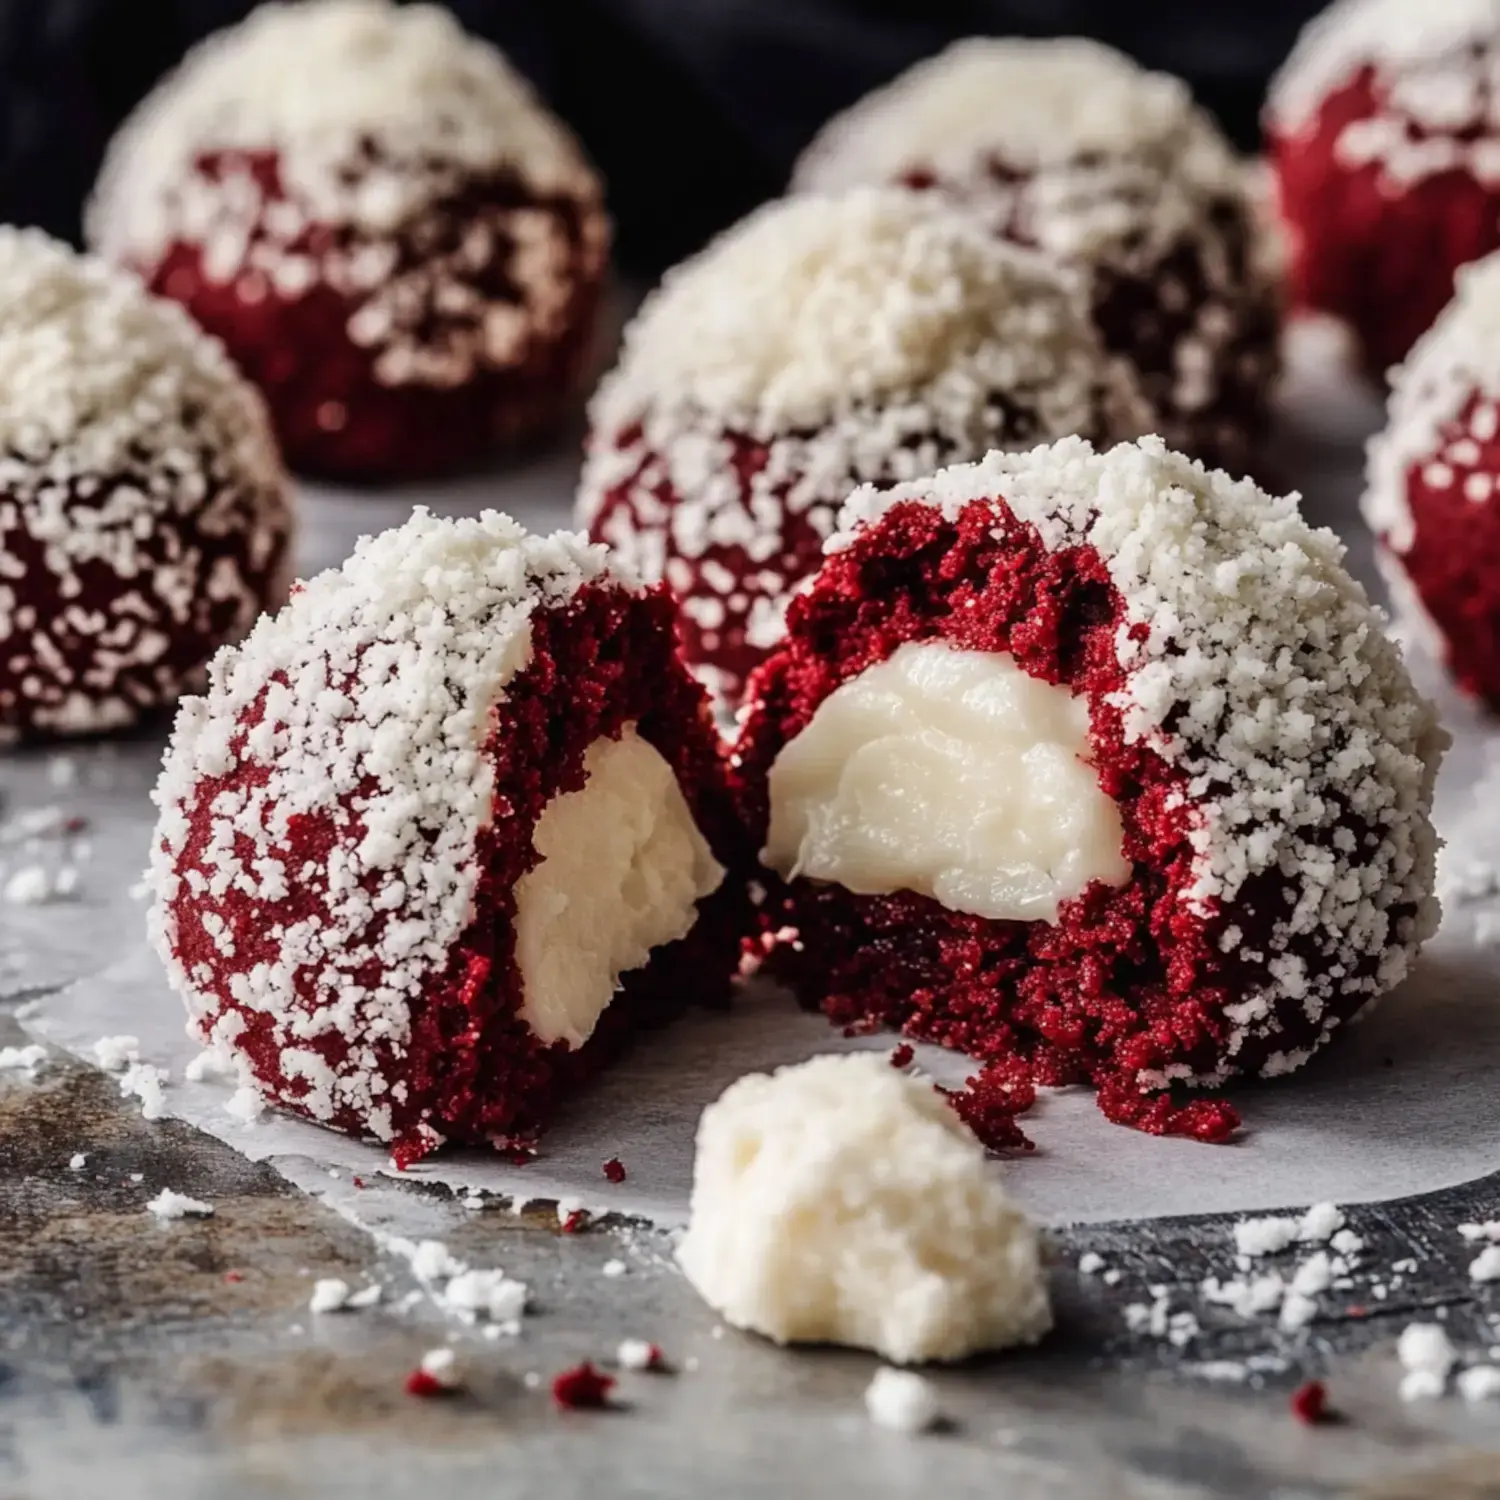
- Hidden Treasure: That white chocolate middle transforms into a creamy delight with every warm mouthful.
- Simple Process: They're so straightforward that my high schooler now bakes them without any help.
- Great For Giving: You'll see smiles bloom when you bring these to cookie exchanges or wrap them up as presents.
My Top Baking Tips
- Cool The Mixture: Stick it in your fridge for smoother shaping—you'll be glad you did.
- Use Gel Coloring: This gives that amazing ruby shade without messing up your dough consistency.
- Go For Good Chocolate: Spend a bit more on fancy white chocolate chips—you won't regret it.
- Frosty Covering: Don't skimp when rolling cookies in sugar and coconut until they look like perfect snowballs.
 Pin it
Ways to Savor
Get yourself a steaming cup of hot chocolate and snuggle up with these treats when it's chilly outside. I enjoy putting them in cute boxes tied with ribbons for gifts to teachers. They also always grab all the attention on my holiday cookie trays.
Making Memorable Moments
I treasure the times spent making these cookies with my kids. The way they light up when they find that gooey center always makes me smile. Cooking together turns regular afternoons into special memories we'll keep forever.
Your Shopping List
- All-Purpose Flour: Go with new flour—it really changes how your cookies feel and taste.
- Cocoa Powder: Rich cocoa creates that can't-resist red velvet taste.
- Gel Food Coloring: My trick for getting that perfect holiday red without ruining your dough texture.
- Butter: Make sure it's sitting out awhile for the softest cookie feel.
- Sugar: Plain white granulated does the job just right.
- Buttermilk: This adds that zingy flavor that makes red velvet so good.
- White Chocolate Chips: Buy the nice ones—they're what makes these cookies amazing.
- Powdered Sugar and Coconut: For that snow-like outer layer that brings joy to everyone.
Step By Step Guide
- Prepare Your Mixture
- Beat your butter and sugar till light and fluffy, drop in your coloring, then add your dry stuff and buttermilk. Let the dough take a quick rest in the fridge.
- Form Your Treats
- Shape small balls from your dough, push a white chocolate chip inside, and roll again till smooth.
- Into The Oven
- Cover them well with powdered sugar and coconut before they go into a 350°F oven for roughly 10 minutes.
- Nearly Done
- Let them cool just enough so that melty center won't burn your mouth.
Keeping Your Treats Tasty
Keep your cookies in a box with a snug lid and they'll stay yummy for 5 days on your kitchen counter. Want to make them early? Toss them in the freezer for up to 3 months. Just warm them to room temperature before you serve them.
Fun Twists To Try
- Change The Middle: I sometimes put cream cheese filling inside when I want something with more tang.
- Leave Out Coconut: Some folks don't care for coconut—just use extra powdered sugar coating instead.
- Make Them Small: Try mini versions for parties—they'll vanish even quicker.
Sharing Cookie Happiness
I really love giving these cookies away. Box them up for teachers, folks next door, or friends. Whenever someone takes their first bite and spots that surprise inside, their face just lights up. That's what makes holiday baking so worthwhile.
 Pin it
Frequently Asked Questions
- → Why should the dough rest?
- Letting it chill keeps it less sticky and stops the baking cookies from spreading all over.
- → Can I switch the filling?
- Of course! Dark chocolate chunks or candy melts work. Just cover the filling fully with dough.
- → Why add water or syrup?
- It makes the coconut stick better and keeps it looking fresh and white.
- → Can these be prepped early?
- Yep! Keep them sealed in a container for up to 5 days. The center will stay soft without melting.
- → What coconut type is best?
- Shredded coconut, sweetened or unsweetened, works perfectly—but skip flaked ones. Finer textures stick better!