
 Pin it
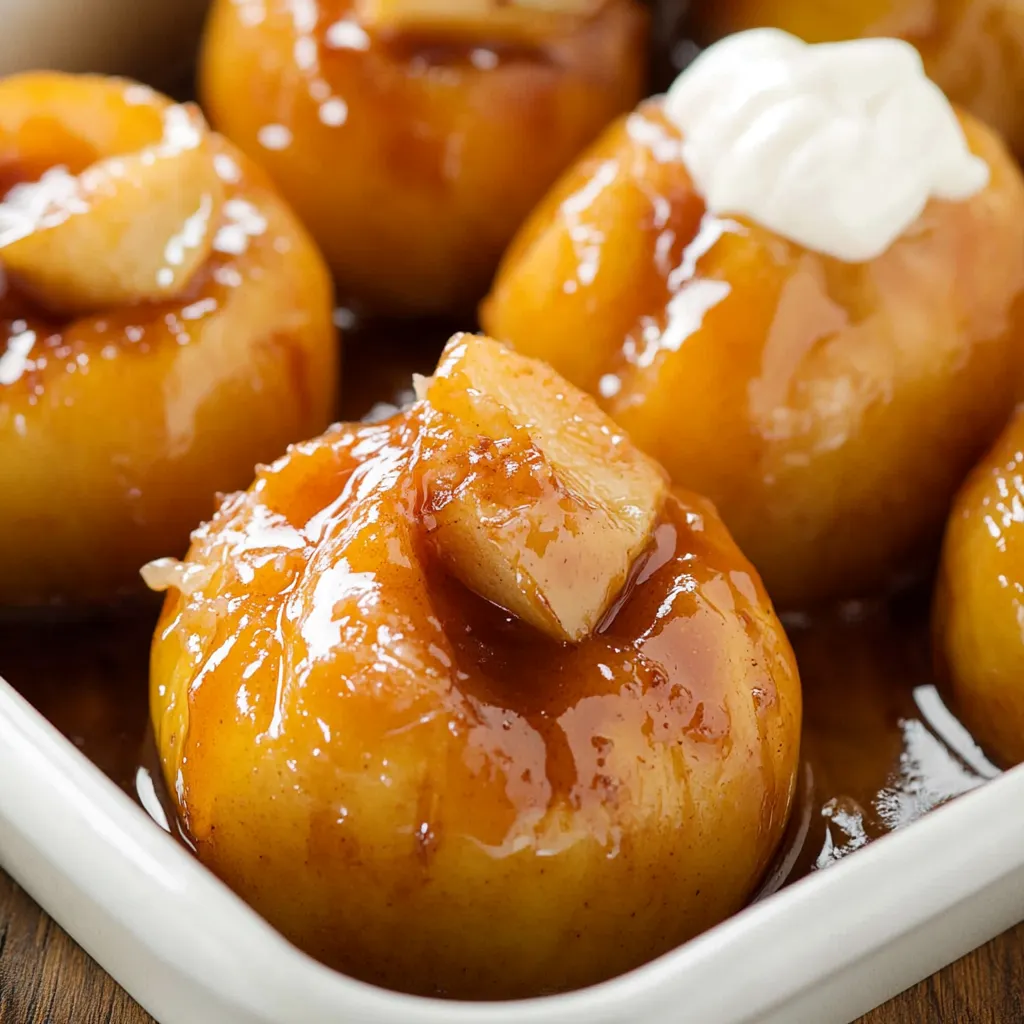
Warm fall flavors blend perfectly in these hollowed-out baked apples, where the fruit works as a container for a tasty, warm spice mix that works its magic while cooking. The apples stay firm enough to keep their shape but get wonderfully soft, making them the ideal edible bowl for the melty brown sugar and cranberry stuffing.
After trying this recipe many times, I found that not cutting through the bottom of the apple is super important - it keeps all that yummy filling right where you want it.
Smart Ingredient Picking Guide
- Apples: Pick sturdy ones that can sit flat without tipping
- Brown sugar: Go for dark brown for richer flavor
- Dried cranberries: The juicier ones work best
- Butter: Get unsalted so you can tweak the taste yourself
- Cinnamon: Make sure it's fresh and smells strong
- Walnuts: Newly chopped ones taste way better
 Pin it
Easy-to-Follow Cooking Steps
- Getting apples ready:
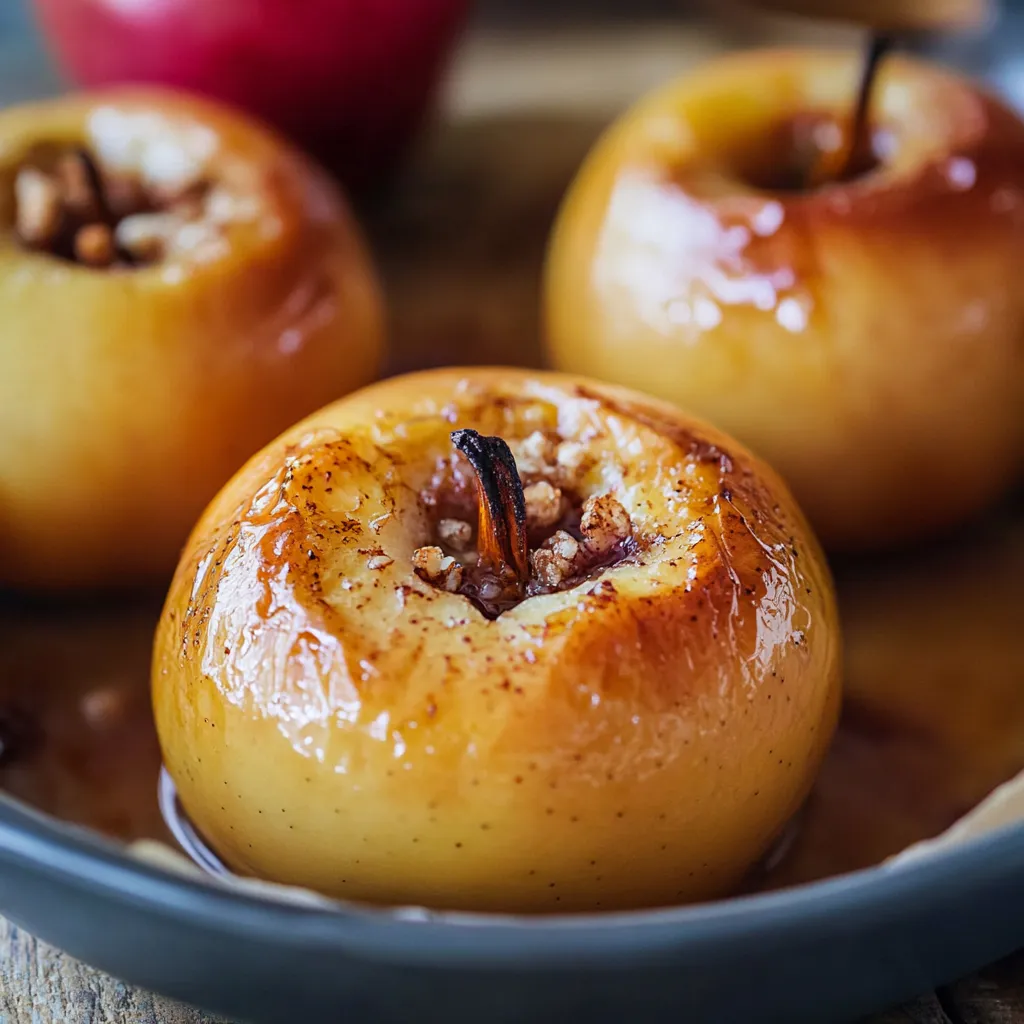
- Clean apples well. Grab a melon baller or small knife for the middle part. Keep bottom half-inch whole. Get rid of seeds and hard bits. Make the hole wide enough for stuffing.
- Making tasty filling:
- Stir sugar and spices together first. Toss in cranberries and mix it all up. Make sure everything's mixed evenly. Give it a taste to check sweetness. Get this done before you start on the apples.
- Putting it together:
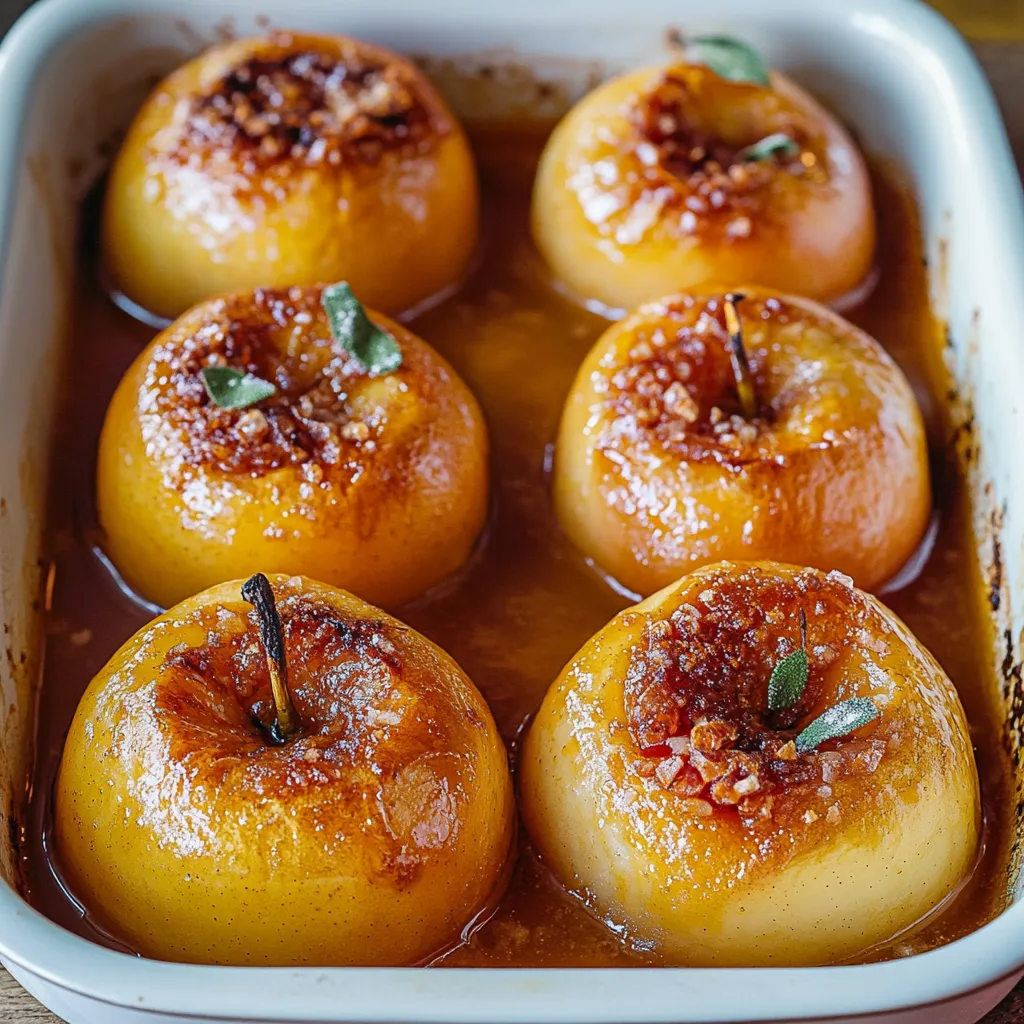
- Set apples up in your baking dish. Push filling in firmly but don't smash it. Put a small chunk of butter on top of each. Scatter nuts over them. Pour hot water in the dish bottom.
- Cooking them right:
- Put rack in oven middle. Keep an eye on them as they cook. Poke with knife to check if they're done. They might crack a bit. Let them cool a little before eating.
I first learned about baked apples from my grandma, and I've found that taking your time with the coring step really matters. When you carefully make a good hollow without breaking the bottom, all that amazing filling stays inside where it should be.
Mastering Heat Settings
Getting the temperature right matters:
- 375°F makes everything turn golden brown
- Test with a fork after 45 minutes
- They should feel tender but not fall apart
- Let them sit for 10 minutes after baking
Plan-Ahead Options
Great for busy schedules:
- Mix your filling up to 3 days early
- Don't core the apples until you're ready to cook
- Eat leftovers within 2 days
- Warm them up quickly in the microwave
Tasty Topping Ideas
Make your baked apples even better with:
- A scoop of vanilla ice cream or some whipped cream
- Drizzled hot caramel sauce
- A dollop of Greek yogurt for breakfast
- Extra crunchy nuts sprinkled on top
 Pin it
I've been making these baked apples for years now, and I love how such a basic dessert really captures what fall comfort food is all about. The way the apples get tender but don't fall apart, and how the filling turns into this rich, sweet sauce is just wonderful. Whether you have them for breakfast or dessert, these baked apples show that sometimes the easiest recipes turn out the most satisfying.
Frequently Asked Questions
- → Which apples hold up best?
- Crisp, firm types like Fuji, Golden Delicious, Jonagold, Granny Smith, Rome Beauty, or McIntosh work great.
- → How can I tell if they’re ready?
- They’re done if they’re soft when stabbed with a fork but still hold their shape. Time depends on apple size.
- → Can I prep them earlier?
- They’re best warm. Reheat lightly in the microwave or oven if needed.
- → Why pour water in the pan?
- It keeps the apples moist and stops the bottoms from drying out while baking.
- → Can I swap the cranberries?
- Sure, try raisins or any dried fruit you like instead!