
 Pin it
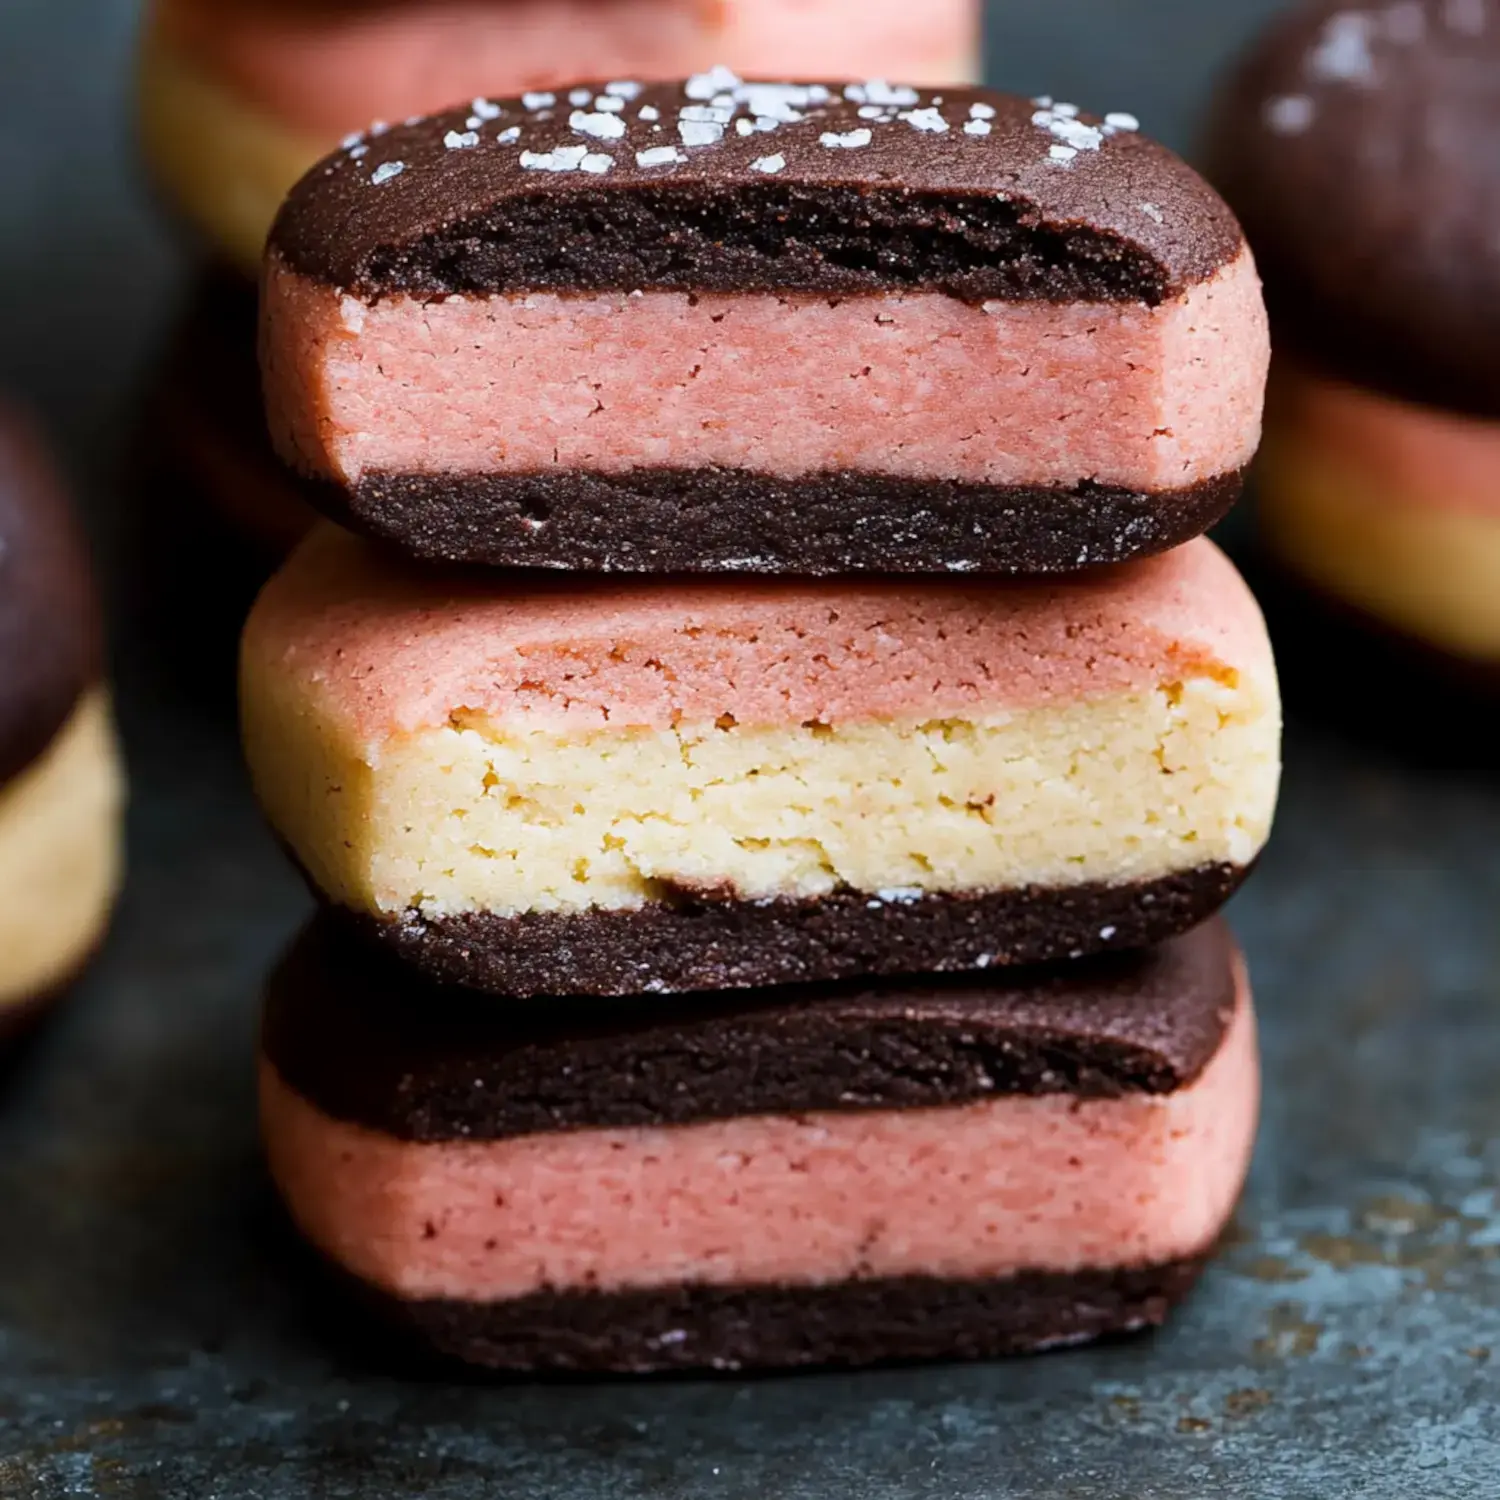
These Neapolitan cookies brighten up my kitchen with their stunning chocolate, vanilla, and strawberry layers. Each buttery bite blends flavors that remind me of my favorite ice cream, but in a soft, yummy cookie form. They always end up as the highlight whenever I put together a cookie tray.
Flawless Results Guaranteed
The thing I adore about these treats is how a single dough creates such wonder. I make them for special events or just because, and they always get smiles. Those three pretty colors combined with their soft, buttery feel make them simply impossible to resist.
Ingredients List
- Main Dough: I use my go-to butter cookie mix that's loaded with vanilla goodness.
- Dark Layer: Quality chocolate and cocoa combine for that rich taste we all want.
- Pink Layer: A mix of jam, flavorings and a touch of coloring makes this part pop.
- Additional Flour: A small amount helps balance the wetness from the jam.
- Beaten Egg: Gives that beautiful shine when you sprinkle sugar on top.
- Finishing Options: I might add chunky sugar or give them a chocolate bath.
Cookie Creation Steps
- Mix Your Foundation
- I beat my dough until smooth then split it into three equal parts.
- Add Unique Flavors
- Each section gets its own flavor update – chocolate, vanilla, and that wonderful strawberry mix.
- Stack Everything Up
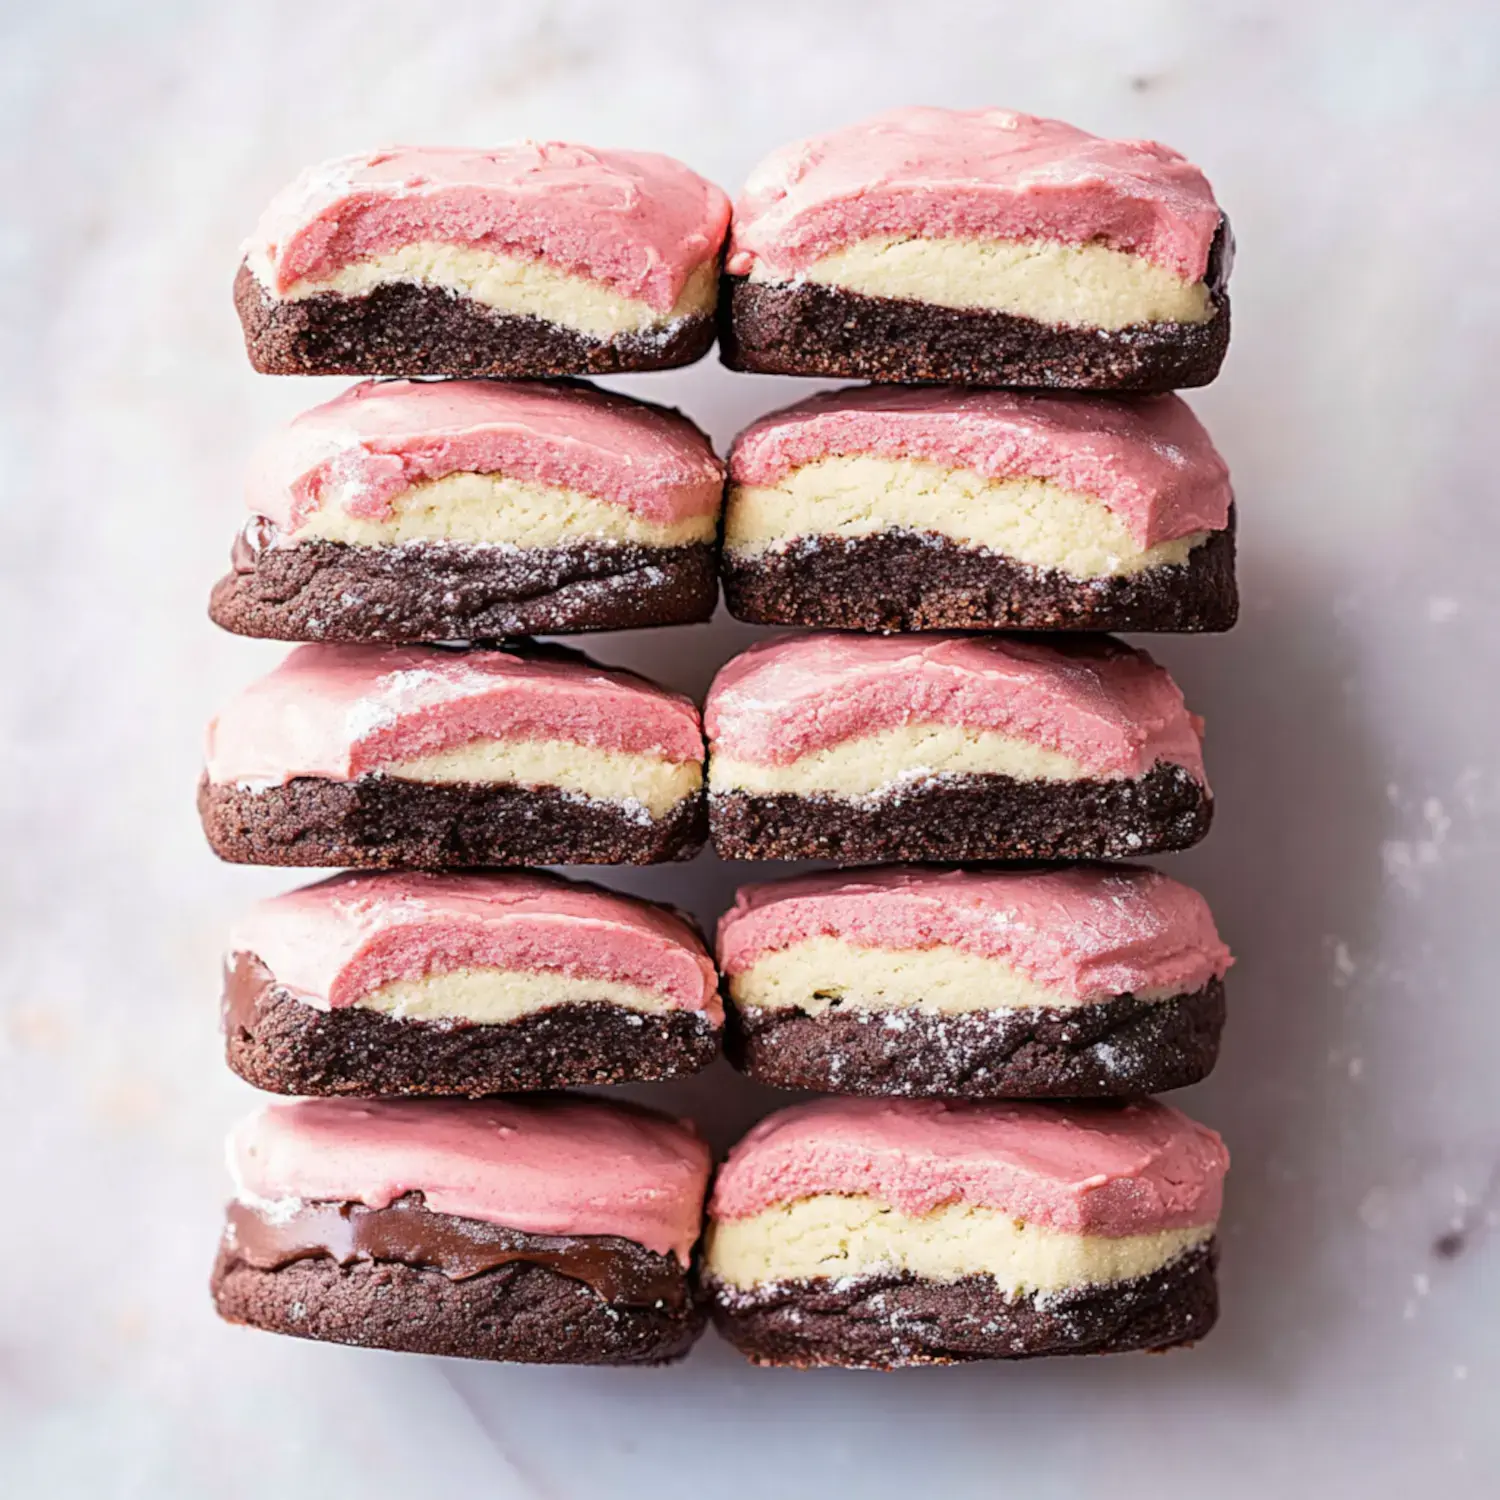
- My parchment-lined bread pan works great for layers, starting with strawberry at bottom, vanilla in middle, and chocolate to finish.
- Rest In Fridge
- Don't rush this part – letting it firm up properly means you'll get gorgeous slices.
- Add Decoration
- A light coat of egg white and some sugar crystals creates a beautiful shimmer.
Ultimate Cookie Pleasure
These colorful treats add something magical to any gathering. I love how they come together with just a bread pan and how I can switch up the flavors whenever I feel like it. They shine during holidays but honestly, I whip them up all year long.
Pro Suggestions
Don't skip that cooling time if you want clean cuts and pretty layers. I always grab the finest chocolate and flavor extracts I can find because it really pumps up the taste. I'll cut them thicker when I want softness or go thinner for extra crunch.
Flavor Variations
I enjoy trying new twists with these treats, like adding a bit of coffee to the dark layer for a tasty mocha vibe. Sometimes I'll use raspberry instead or put toasted coconut in the middle section. Each change brings its own special touch to these gorgeous cookies.
Storage Solutions
These treats stay yummy in a sealed container for around a week. When I'm planning for holiday baking, I freeze them on a tray first, then stack them up with paper between layers. They defrost perfectly and keep all those tasty flavors and pretty colors just right.
Great Companions
I enjoy putting these cookies on holiday plates next to gingerbread and minty sweets. Something about having them with hot coffee or tea makes any regular day feel extra nice. They're always the first to vanish at parties.
Easy Formation
Using a bread pan makes these cookies way simpler than you'd guess. No fussy rolling or exact measurements needed - just push those colorful layers into the pan and let them chill. You'll get perfect slices every time with barely any work.
Fast Facts
- Taste Experiments: I sometimes mix in some almond flavoring with the white layer or swap in caramel for the chocolate part.
- Clean Cutting: Use a sharp blade and push straight down to keep those layers looking neat.
- Bigger Batches: This recipe grows easily - just grab a larger container or cook multiple sets.
 Pin it
Frequently Asked Questions
- → Why cool the dough for hours?
- Chilling for three hours helps it firm up so you can cut neat slices, and keeps the cookies looking great while baking.
- → Can I add freeze-dried berries?
- It’s best not to use freeze-dried strawberries since they can lead to uneven dough. Strawberry jam and extract work better.
- → How can I make clean stripes?
- Press each layer flat in the loaf pan and chill thoroughly. Use a sharp blade to slice smoothly and trim edges for crisp shapes.
- → Can I get these ready early?
- Sure can! Chill dough up to 4 days or freeze it for 3 months. Once baked, cookies freeze nicely for 3 months too.
- → Why use gel food dyes?
- Gel colors are vibrant and don’t mess up the dough’s texture like liquid ones sometimes do.